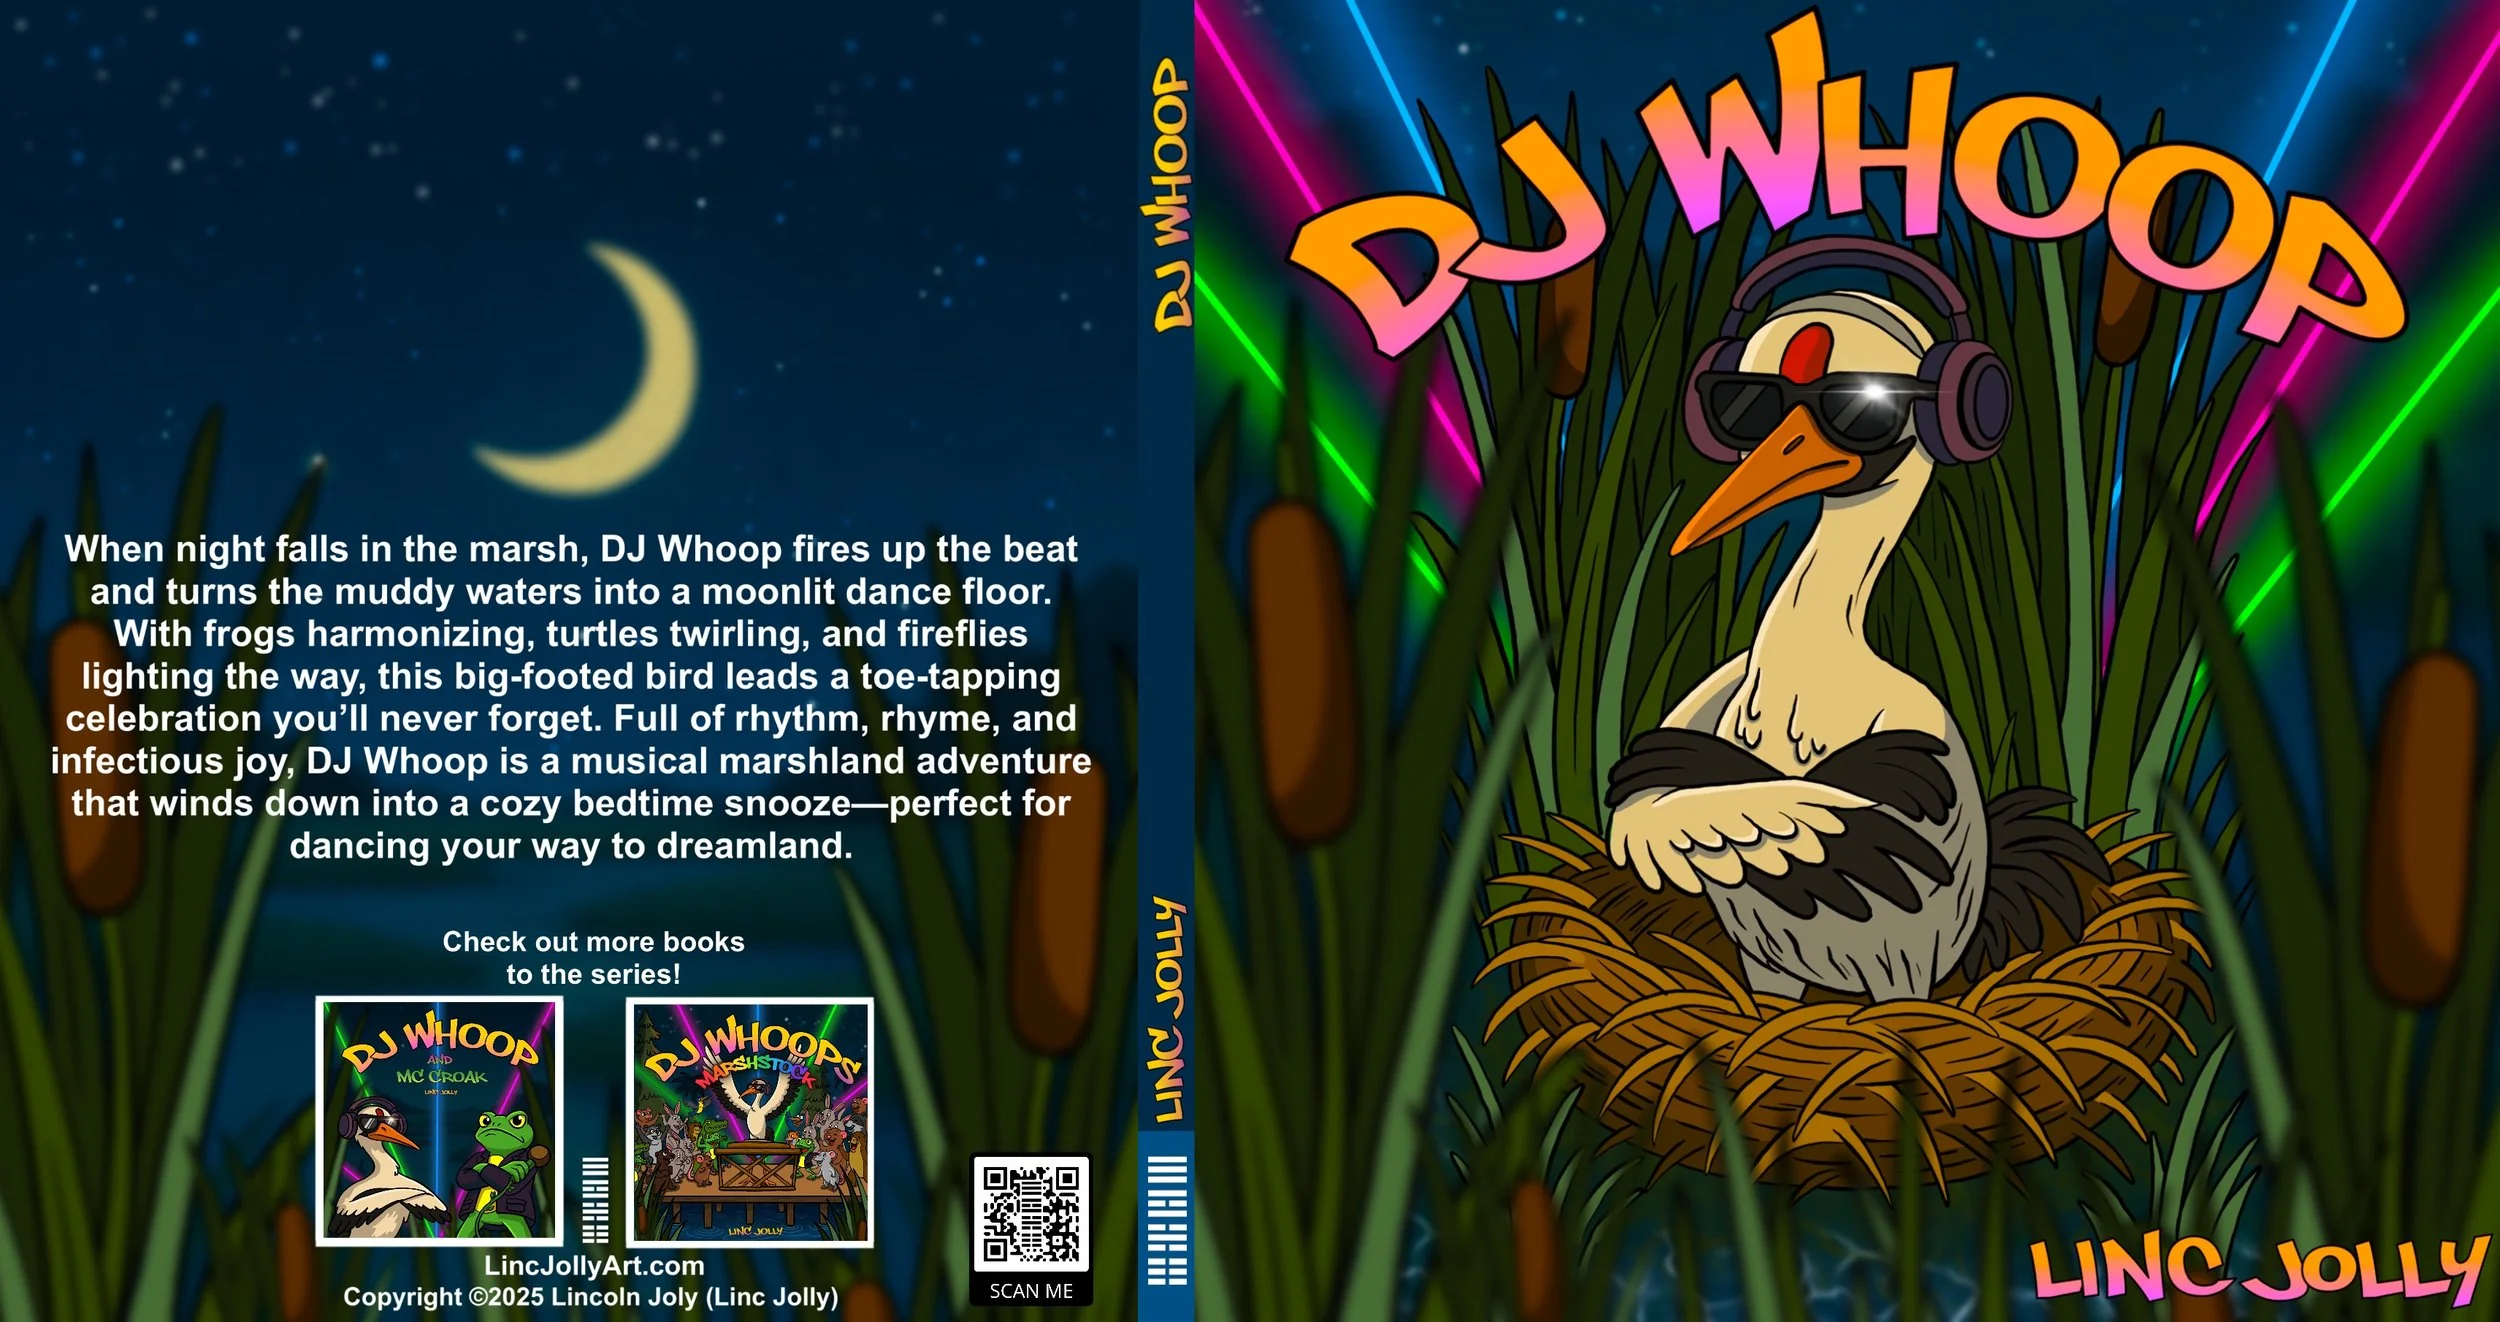
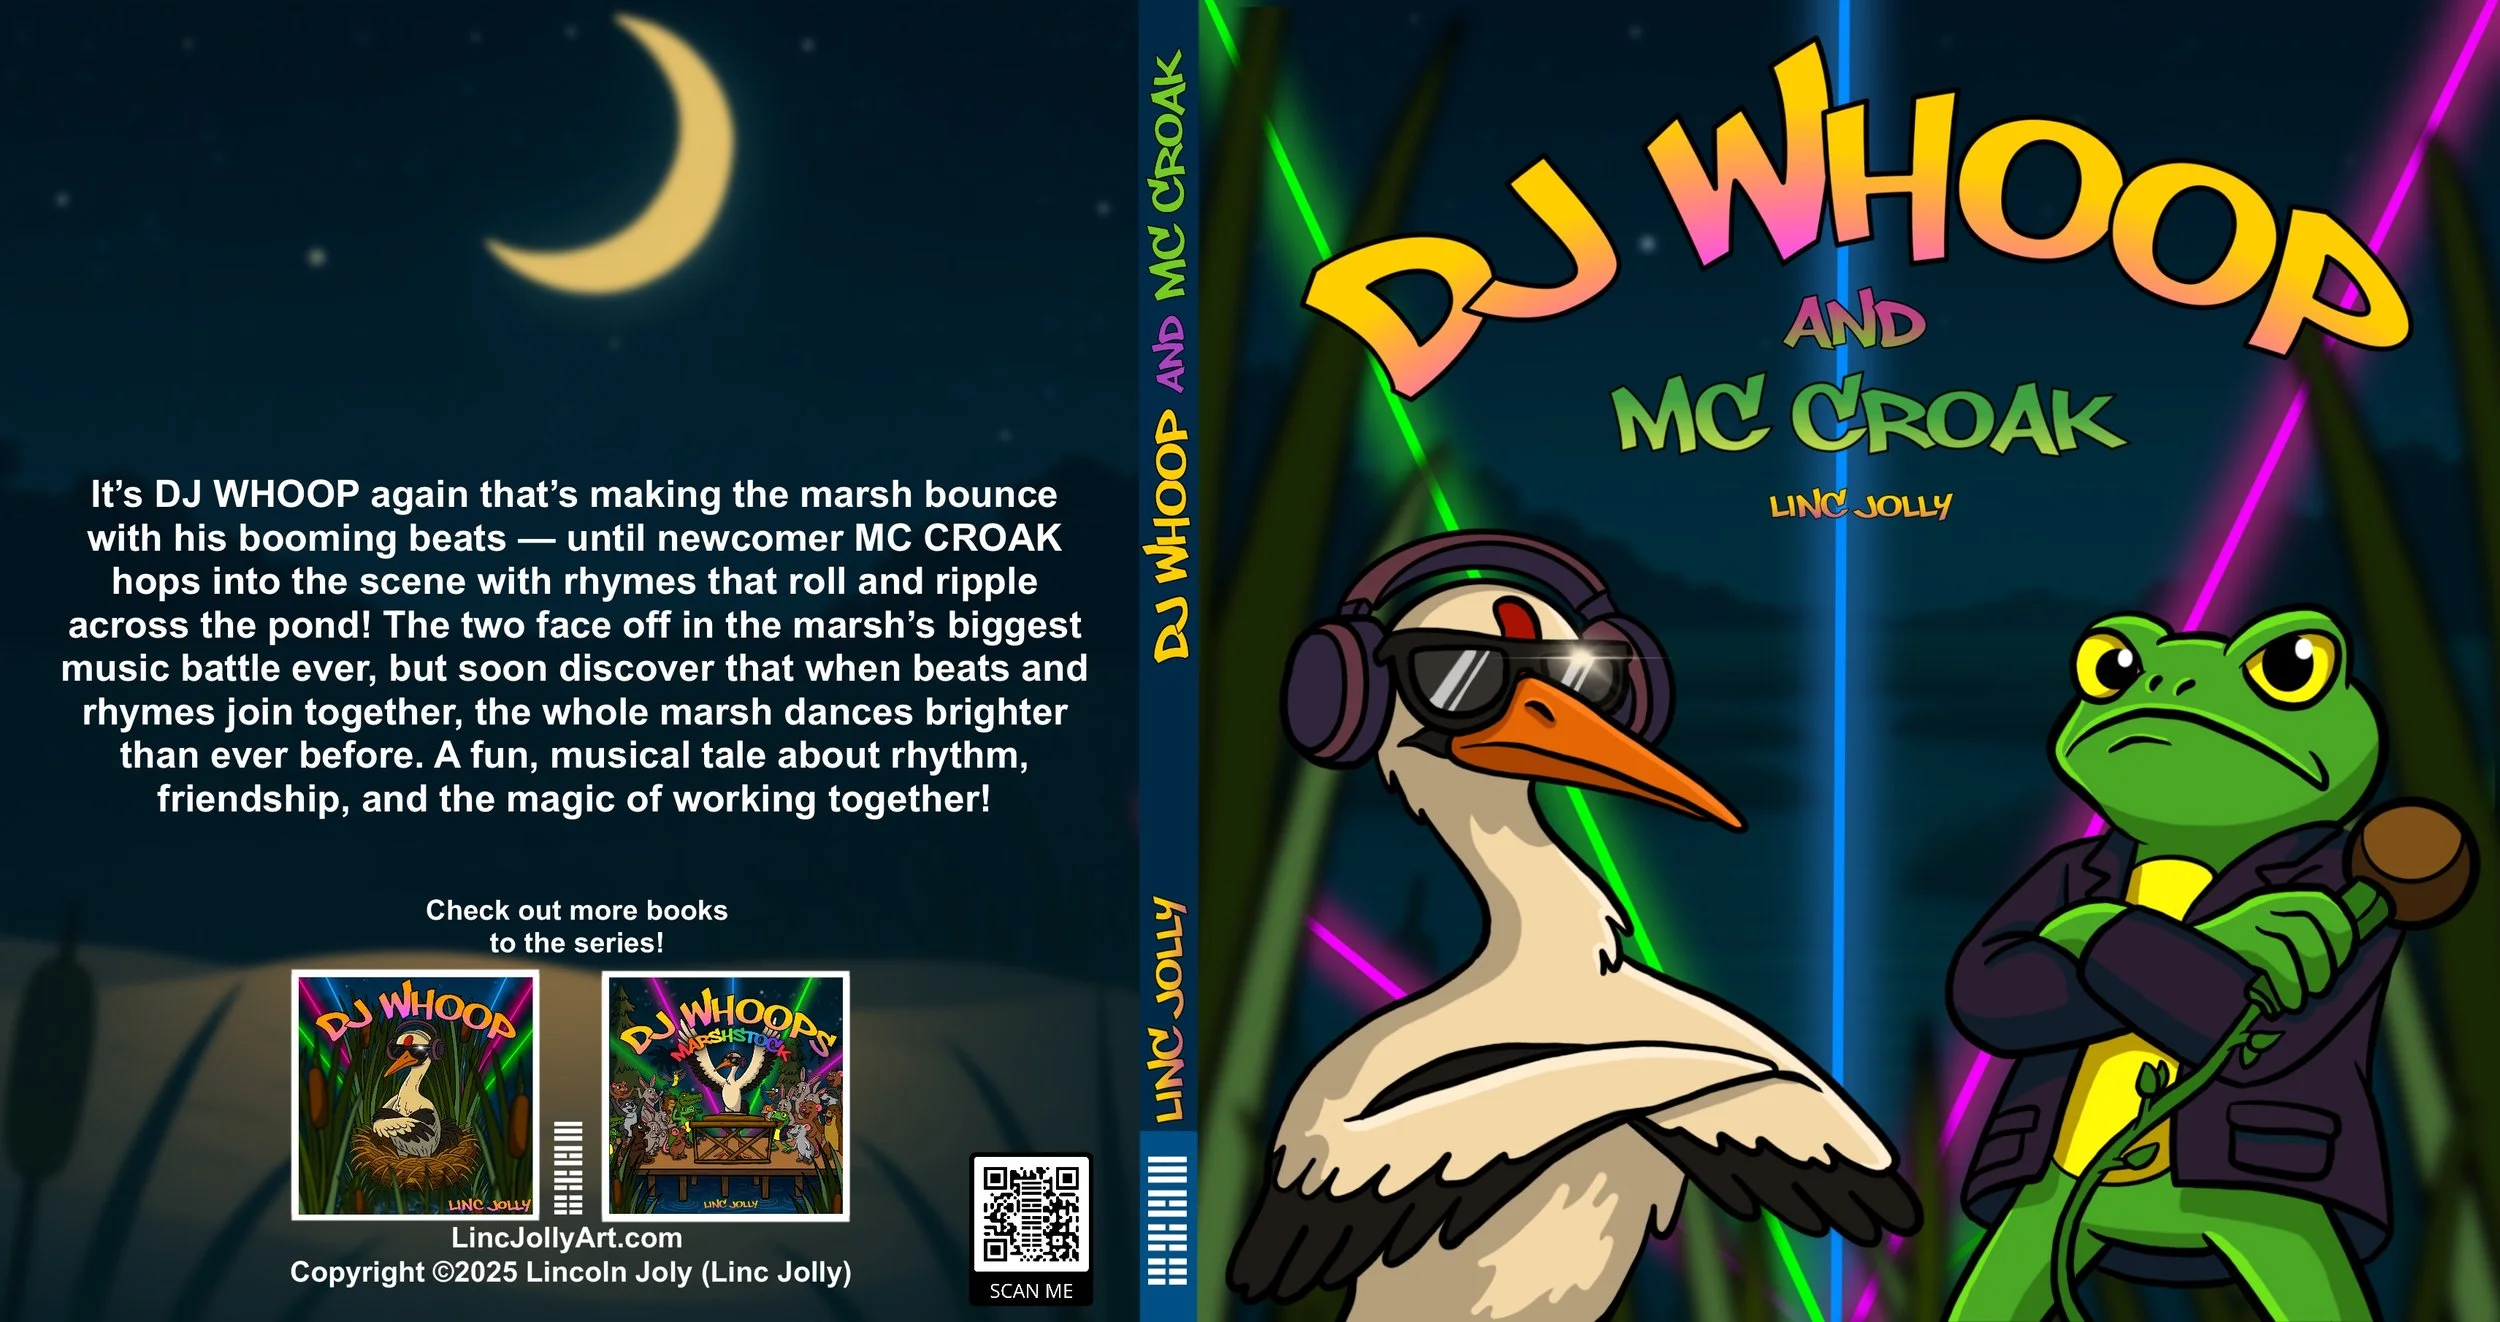
DJ WHOOP Series Now Live for Pre-Order on Amazon!
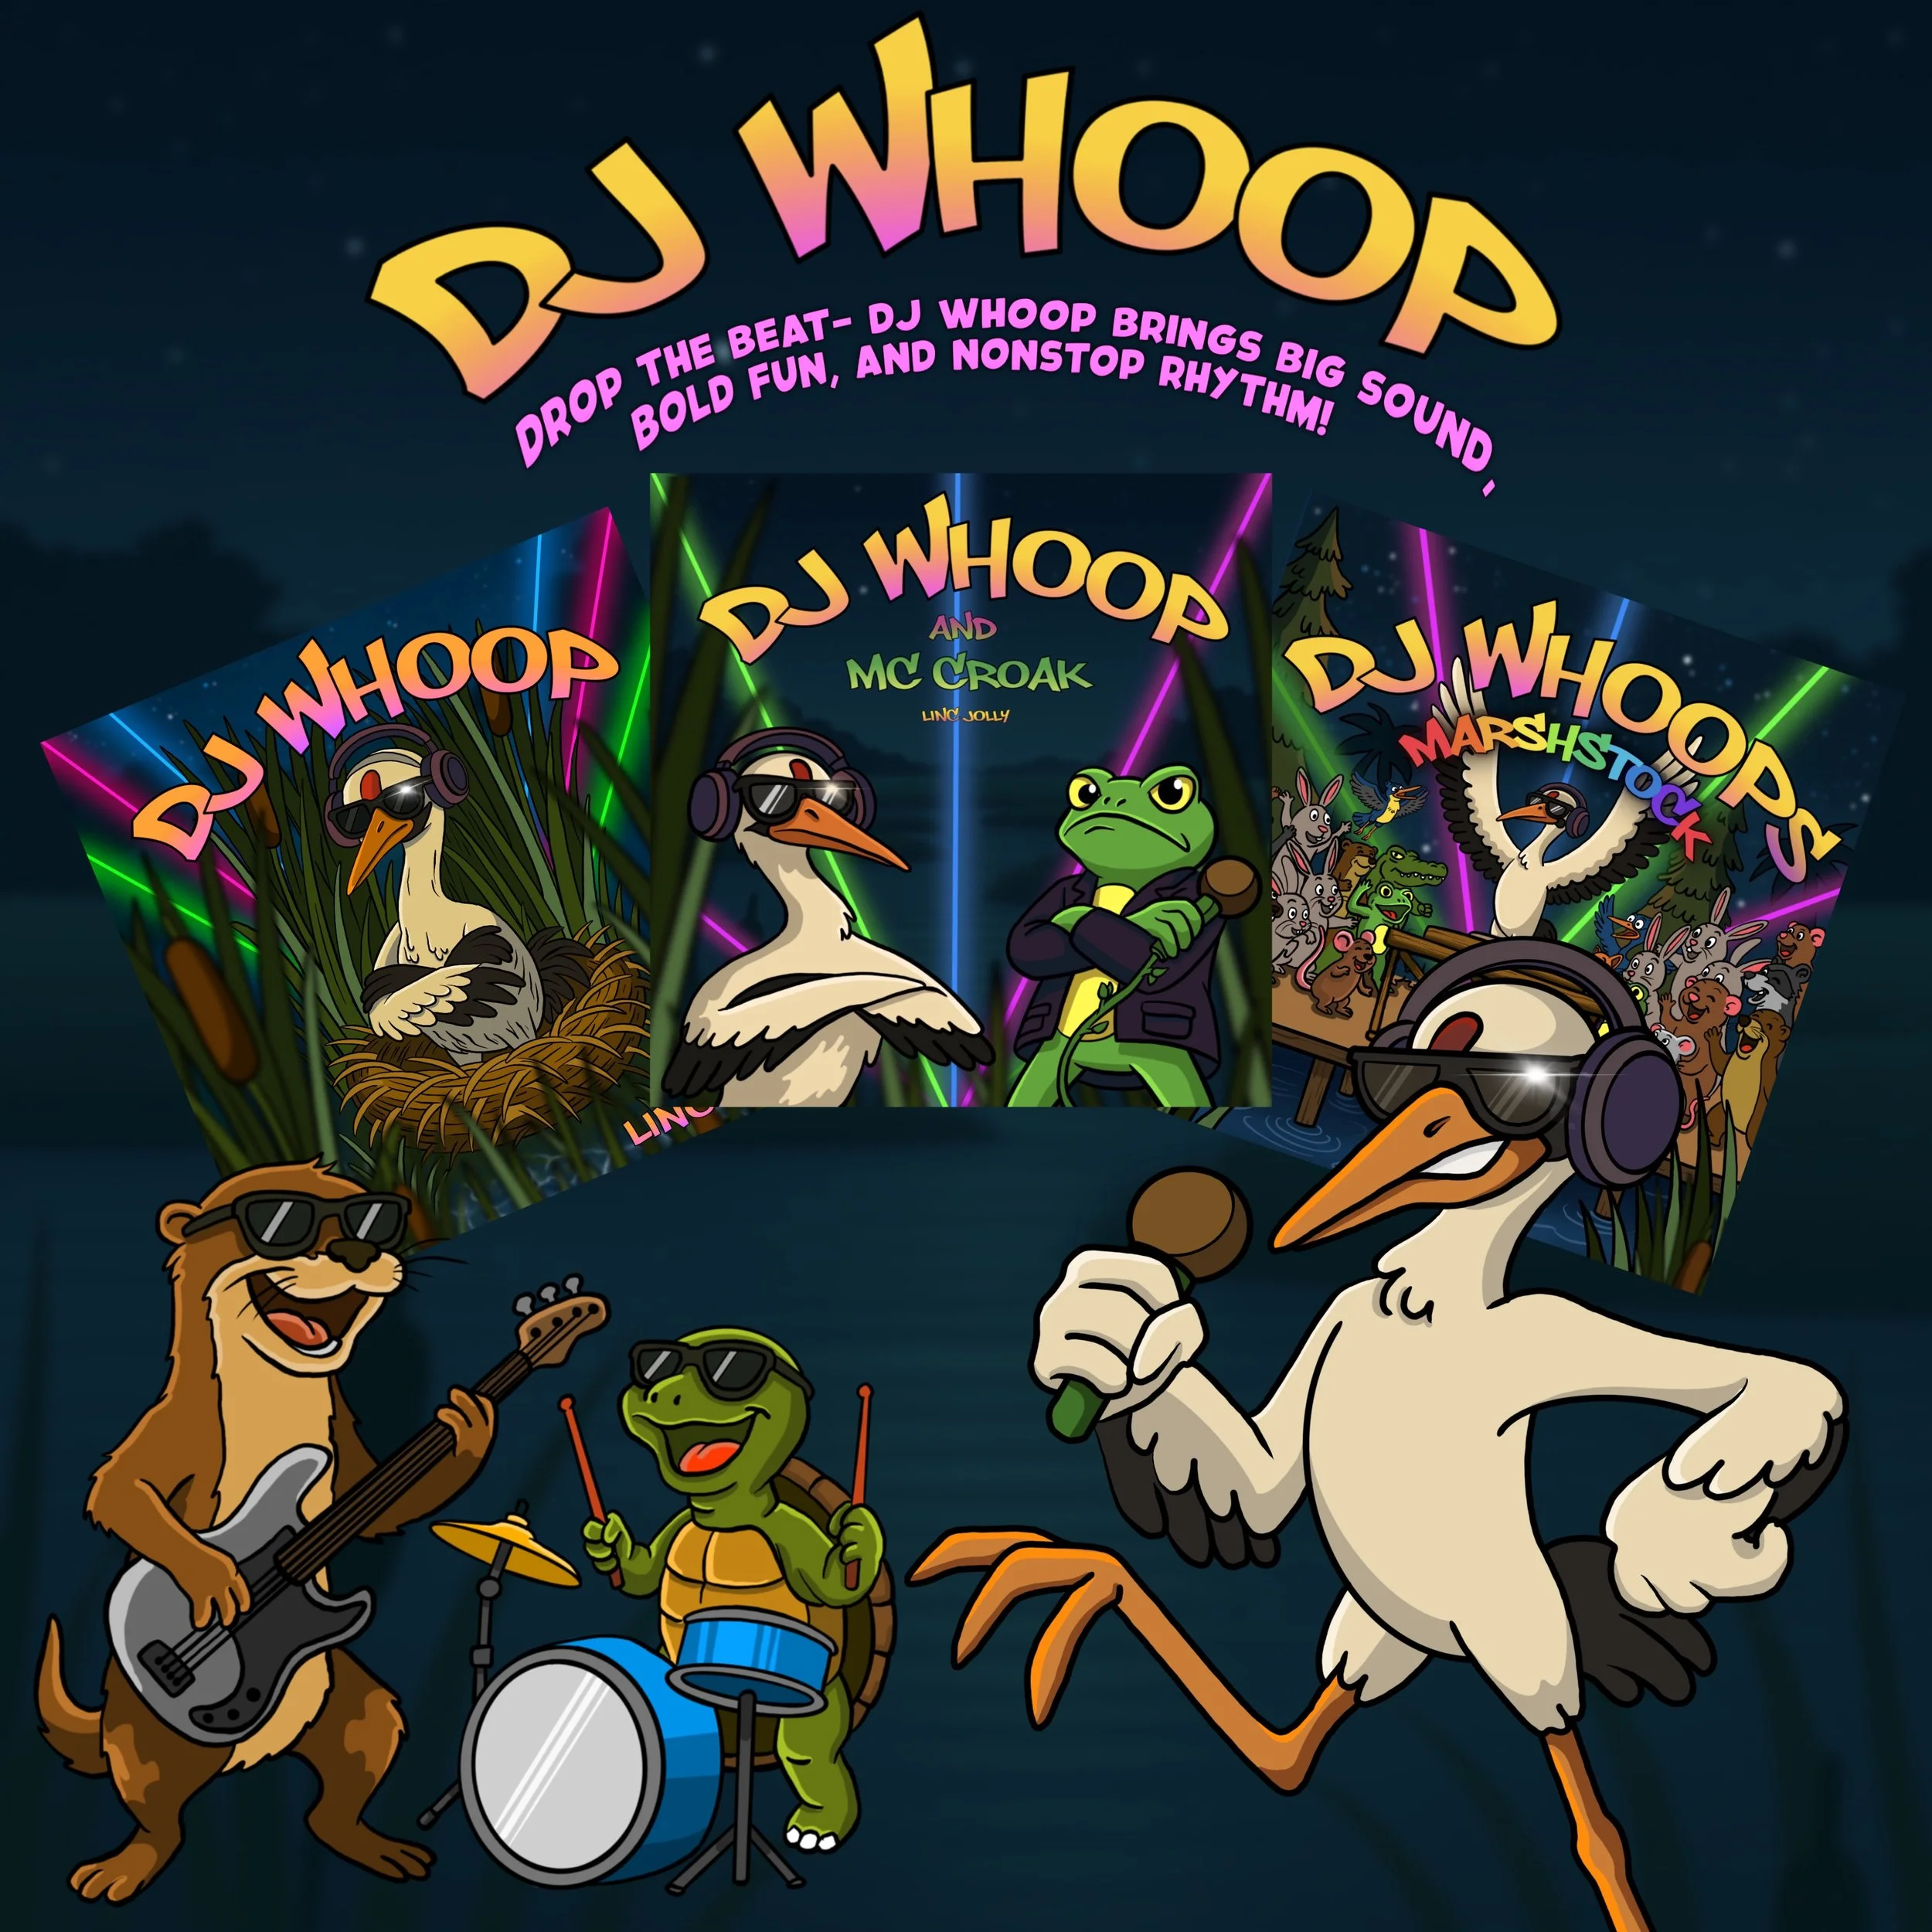
Click the links to pre-order until the first day of Summer (June 21st, 2026)

Hey everyone!
I’m super excited to share that the DJ WHOOP series is officially live and available for pre-order right now on Amazon KDP!
For a limited time, you can grab the ebook at the special pre-order price of just $3.99. This offer runs through June 21st.
On June 21st—the first official day of summer—the ebooks will release and land straight on your Kindle. Perfect timing to kick off the season with something fresh and fun!
If you love vibrant stories and bold creativity you want to share with your children you’re going to enjoy this one!
Pre-order now and lock in the $3.99 price before it goes up on release day.
Head over to Amazon and secure your copies today!
Thank you for the support — I can’t wait for you to meet DJ WHOOP this summer!
Whoop whoop!
How I Started Rug Tufting: My Beginner Journey and the Exact Materials That Got Me Hooked
About a year ago, I fell down the rabbit hole of rug tufting videos on Youtube. Those colorful custom rugs looked so satisfying to make—and way more affordable than buying one. I loved the Pokemon/Anime/Nostalgic characters I was seeing made through a rug. I decided it was time to try it myself as a creative hobby. No prior experience, just excitement and a bit of research.
I kept my starter setup simple and budget-friendly, focusing on reliable tools and supplies from accessible places like Amazon, Michaels, and Home Depot. Here's exactly what I used to get started, why they worked well for a beginner, and where you can grab them too.
The Tools That Made Tufting Easy: My Tufting Gun Kit
The heart of rug tufting is the gun—it punches yarn through the backing fabric at high speed, creating that signature plush texture. I went with a BESGEER 2-in-1 tufting gun kit that includes the electric gun, tufting shears, and a carpet trimmer.
This kit was perfect for beginners because:
The gun is adjustable in speed and easy to handle.
It comes with shears for cutting loops and a trimmer to even out the pile for a professional, fluffy finish.
Where to get it: Amazon - Tufting Gun, Trimmer & Shears Kit
The Foundation: Primary Tufting Backing Supplies
You need a sturdy fabric to hold the yarn in place. I bought the Primary Tufting Non-Slip Backing Supplies kit from Amazon, which includes:
A large sheet of primary tufting cloth (monks cloth style) with helpful grid marker lines every couple of inches for straight designs.
Non-slip final backing fabric (with a grippy dot or vinyl pattern) to finish the back of the rug so it stays put on the floor.
The grid lines made sketching my design super straightforward, and the non-slip backing saved me from buying extra materials later. It's durable, stretches well on a frame, and holds yarn securely.
Where to get it: Amazon - Primary Tufting Cloth & Non-Slip Backing Kit
The Yarn: Big Twist Value Yarn from Michaels
For yarn, I chose Big Twist Value Yarn from my local Michaels store (and their website). It's 100% acrylic, and is available in tons of vibrant solid colors.
Why it worked great for tufting:
Affordable and beginner-friendly—much cheaper than specialty rug yarn when you're just starting.
Soft texture that tufts smoothly through the gun.
Many tufters recommend it (sometimes using two strands together for extra thickness and fluff, which I also recommend now).
I picked a few complementary colors for my first simple geometric design. It held up well and gave a nice plush result after trimming.
Where to get it: Michaels - Big Twist Value Yarn (check in-store for the best color selection and deals!)
Other Essentials I Used (and Recommend)
Tufting Frame: I built a simple wooden one with gripper strips (or you can buy a pre-made adjustable frame). It needs to be sturdy to keep the fabric drum-tight.
Adhesives: Robert’s 3095 High-Performance Carpet Adhesive was my go-to for the main backing. It's a strong, flexible, latex-based glue that bonds the non-slip backing securely and is a favorite in the tufting community for indoor rugs. For extra durability, especially if the rug might see any moisture (like in a basement, sunroom, or high-traffic area), I also used Robert’s 6700 Indoor/Outdoor Adhesive. Both are easy to work with.
Basic tools: Scissors, a marker for designs, and optionally a yarn winder if you're working from skeins.
Where to get the adhesives:
Robert’s 3095: Amazon (1 Gallon) or Home Depot
Robert’s 6700: Amazon (1 Gallon) or Home Depot
The next thing I did was build a frame so that I could mount up my fabric to actually start tufting. I found many DIY videos on Youtube to get this done. The quickest way for me to do this was heading down to my local Home Depot and gather supplies. Here is a link that may help you create your frame as well by the channel Abnormal Customs.
https://youtu.be/vlf_Vkb3oAY?si=Nwv2nt92yE0-1hQ0
Projector for Faster Design Transfer:
One game-changer for me was using a portable mini projector to project images and patterns directly onto the tufting cloth. The SK UO Smart Beam Portable Mini Projector connects easily to my phone or laptop, letting me enlarge reference photos or designs and trace them quickly and accurately. This saved so much time compared to freehand drawing—especially helpful for detailed or symmetrical patterns—and made the whole process feel more professional right from the start.
My First Tufting Experience
I stretched the primary cloth tightly on the frame, sketched my design using the grid lines, loaded up the gun with Big Twist yarn, and started punching away. It took a couple of practice rows to get the rhythm, but once I did—it became a flow state! After finishing, I trimmed with the shears and electric trimmer for even pile, then applied a generous layer of Robert’s 3095 to glue on the non-slip backing securely. I let it dry fully—usually 24 hours—for a rock-solid finish.
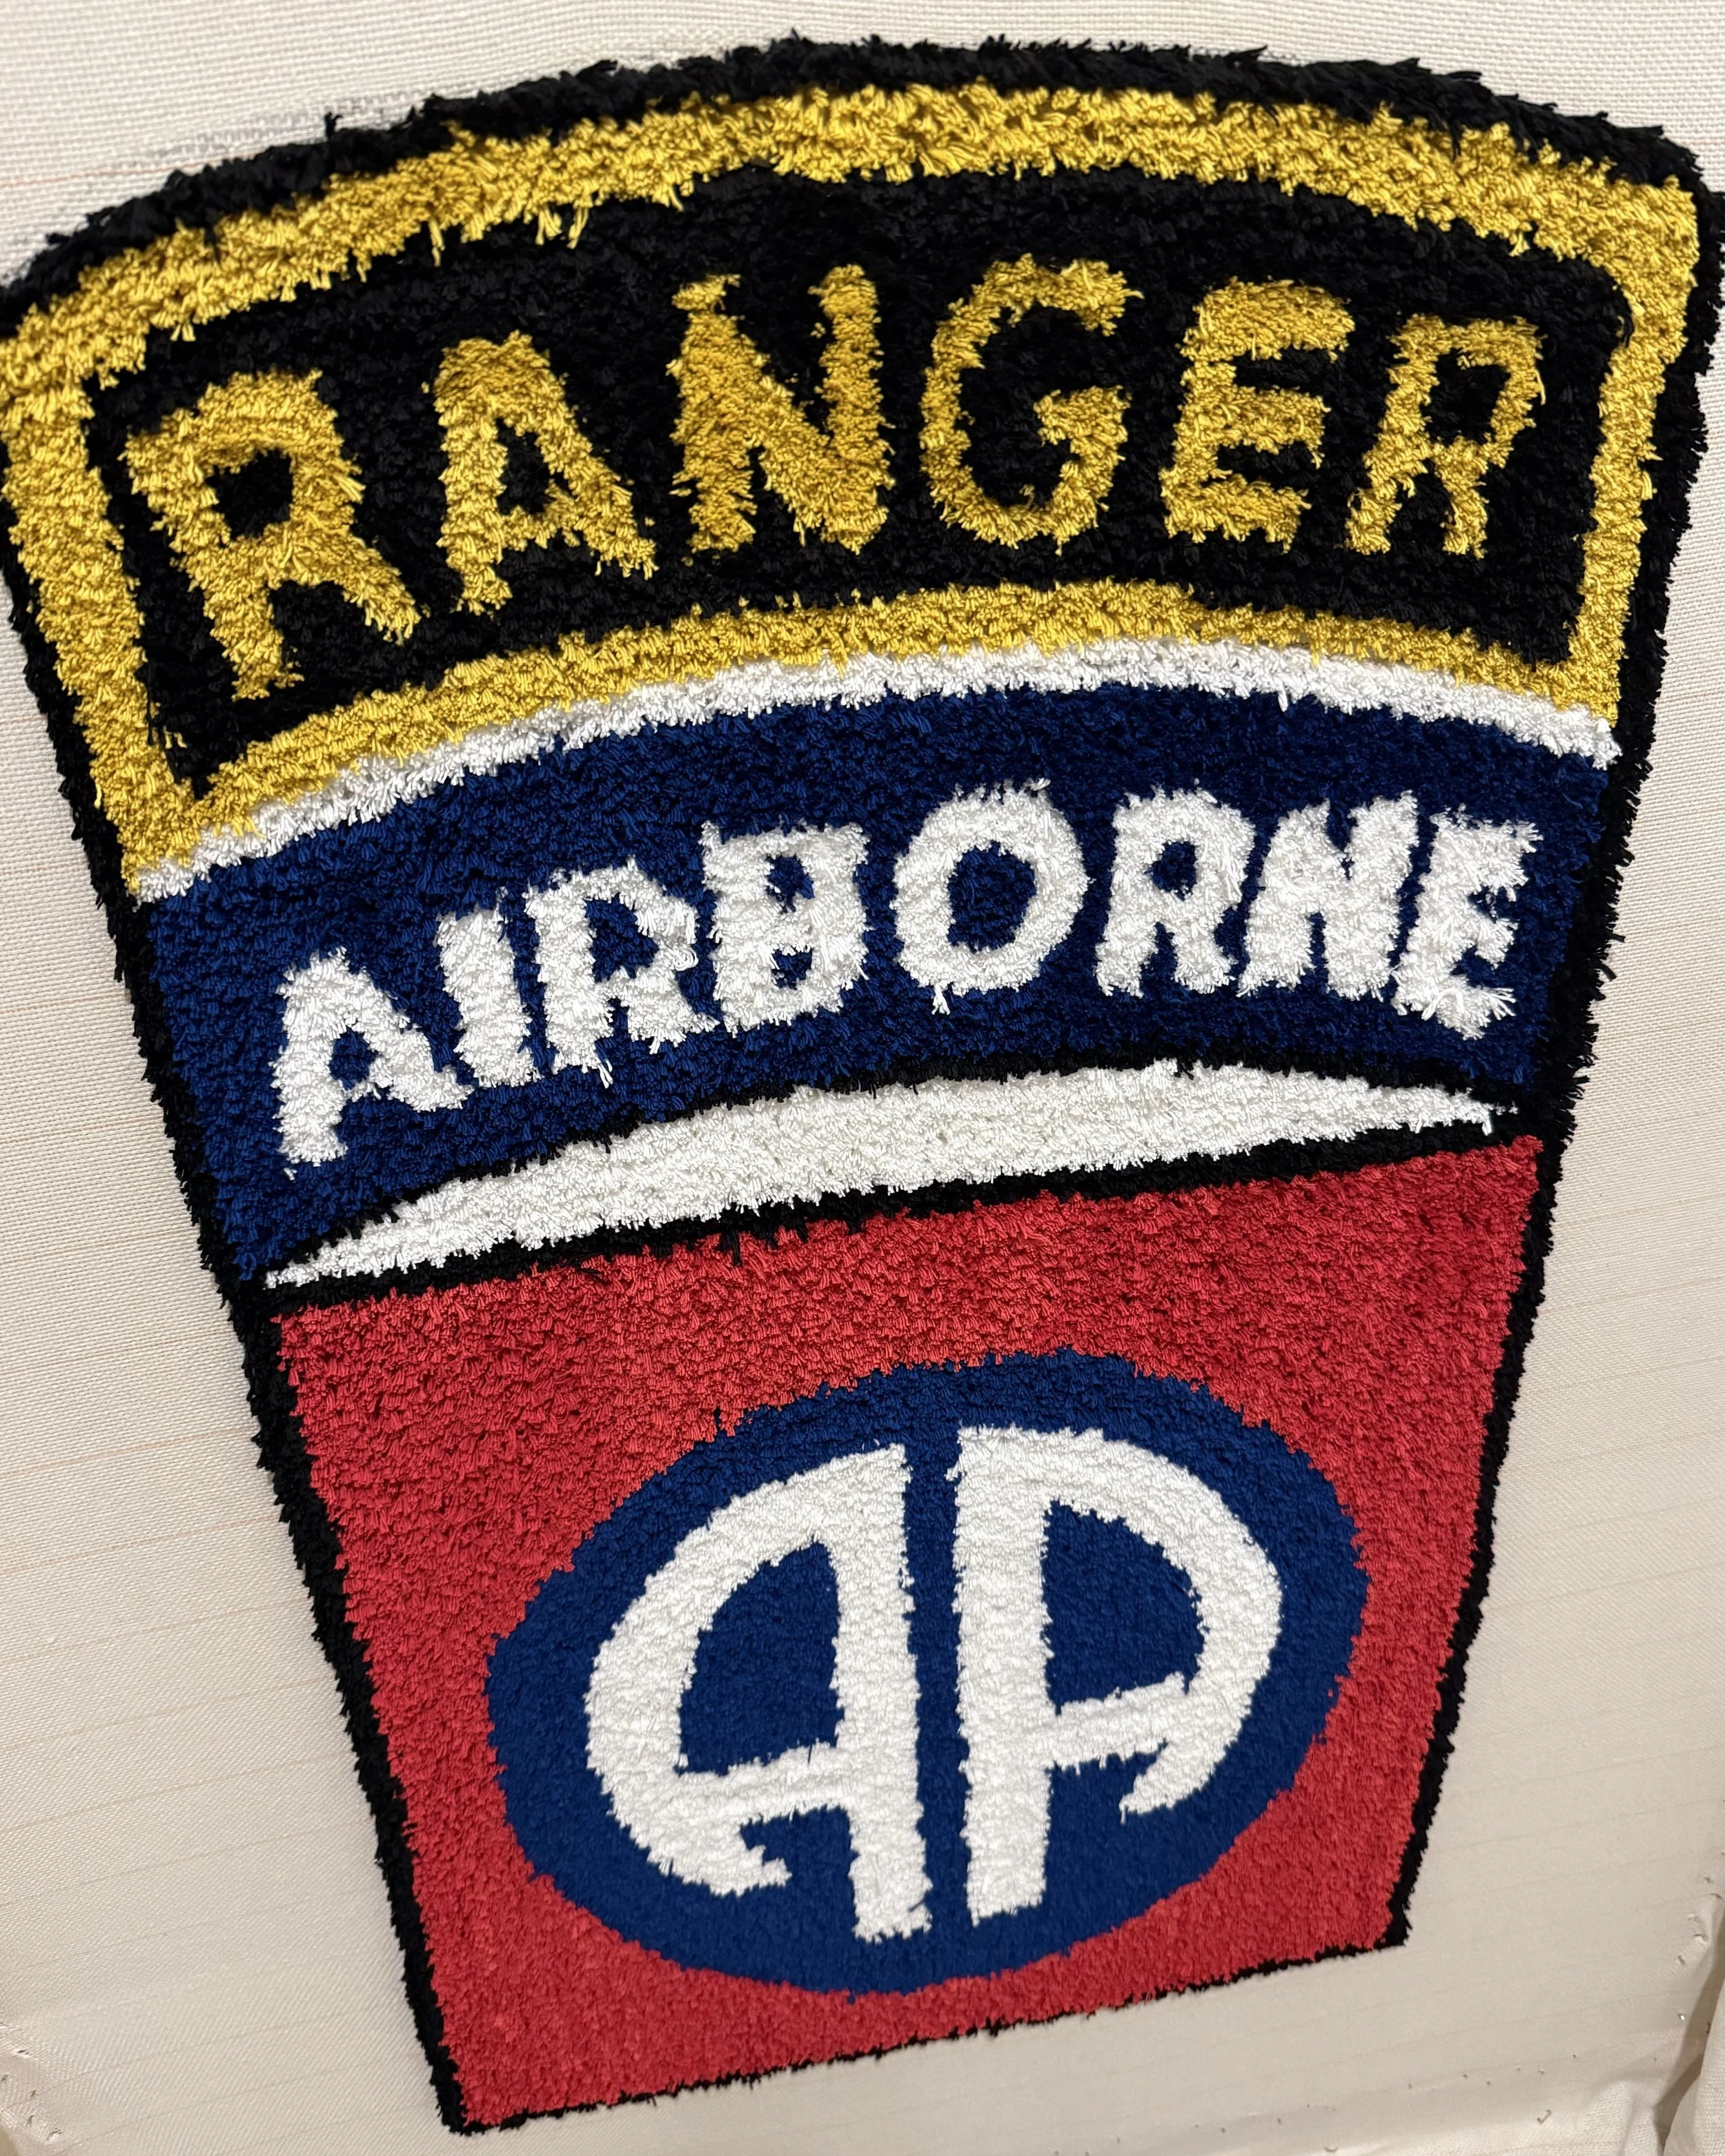
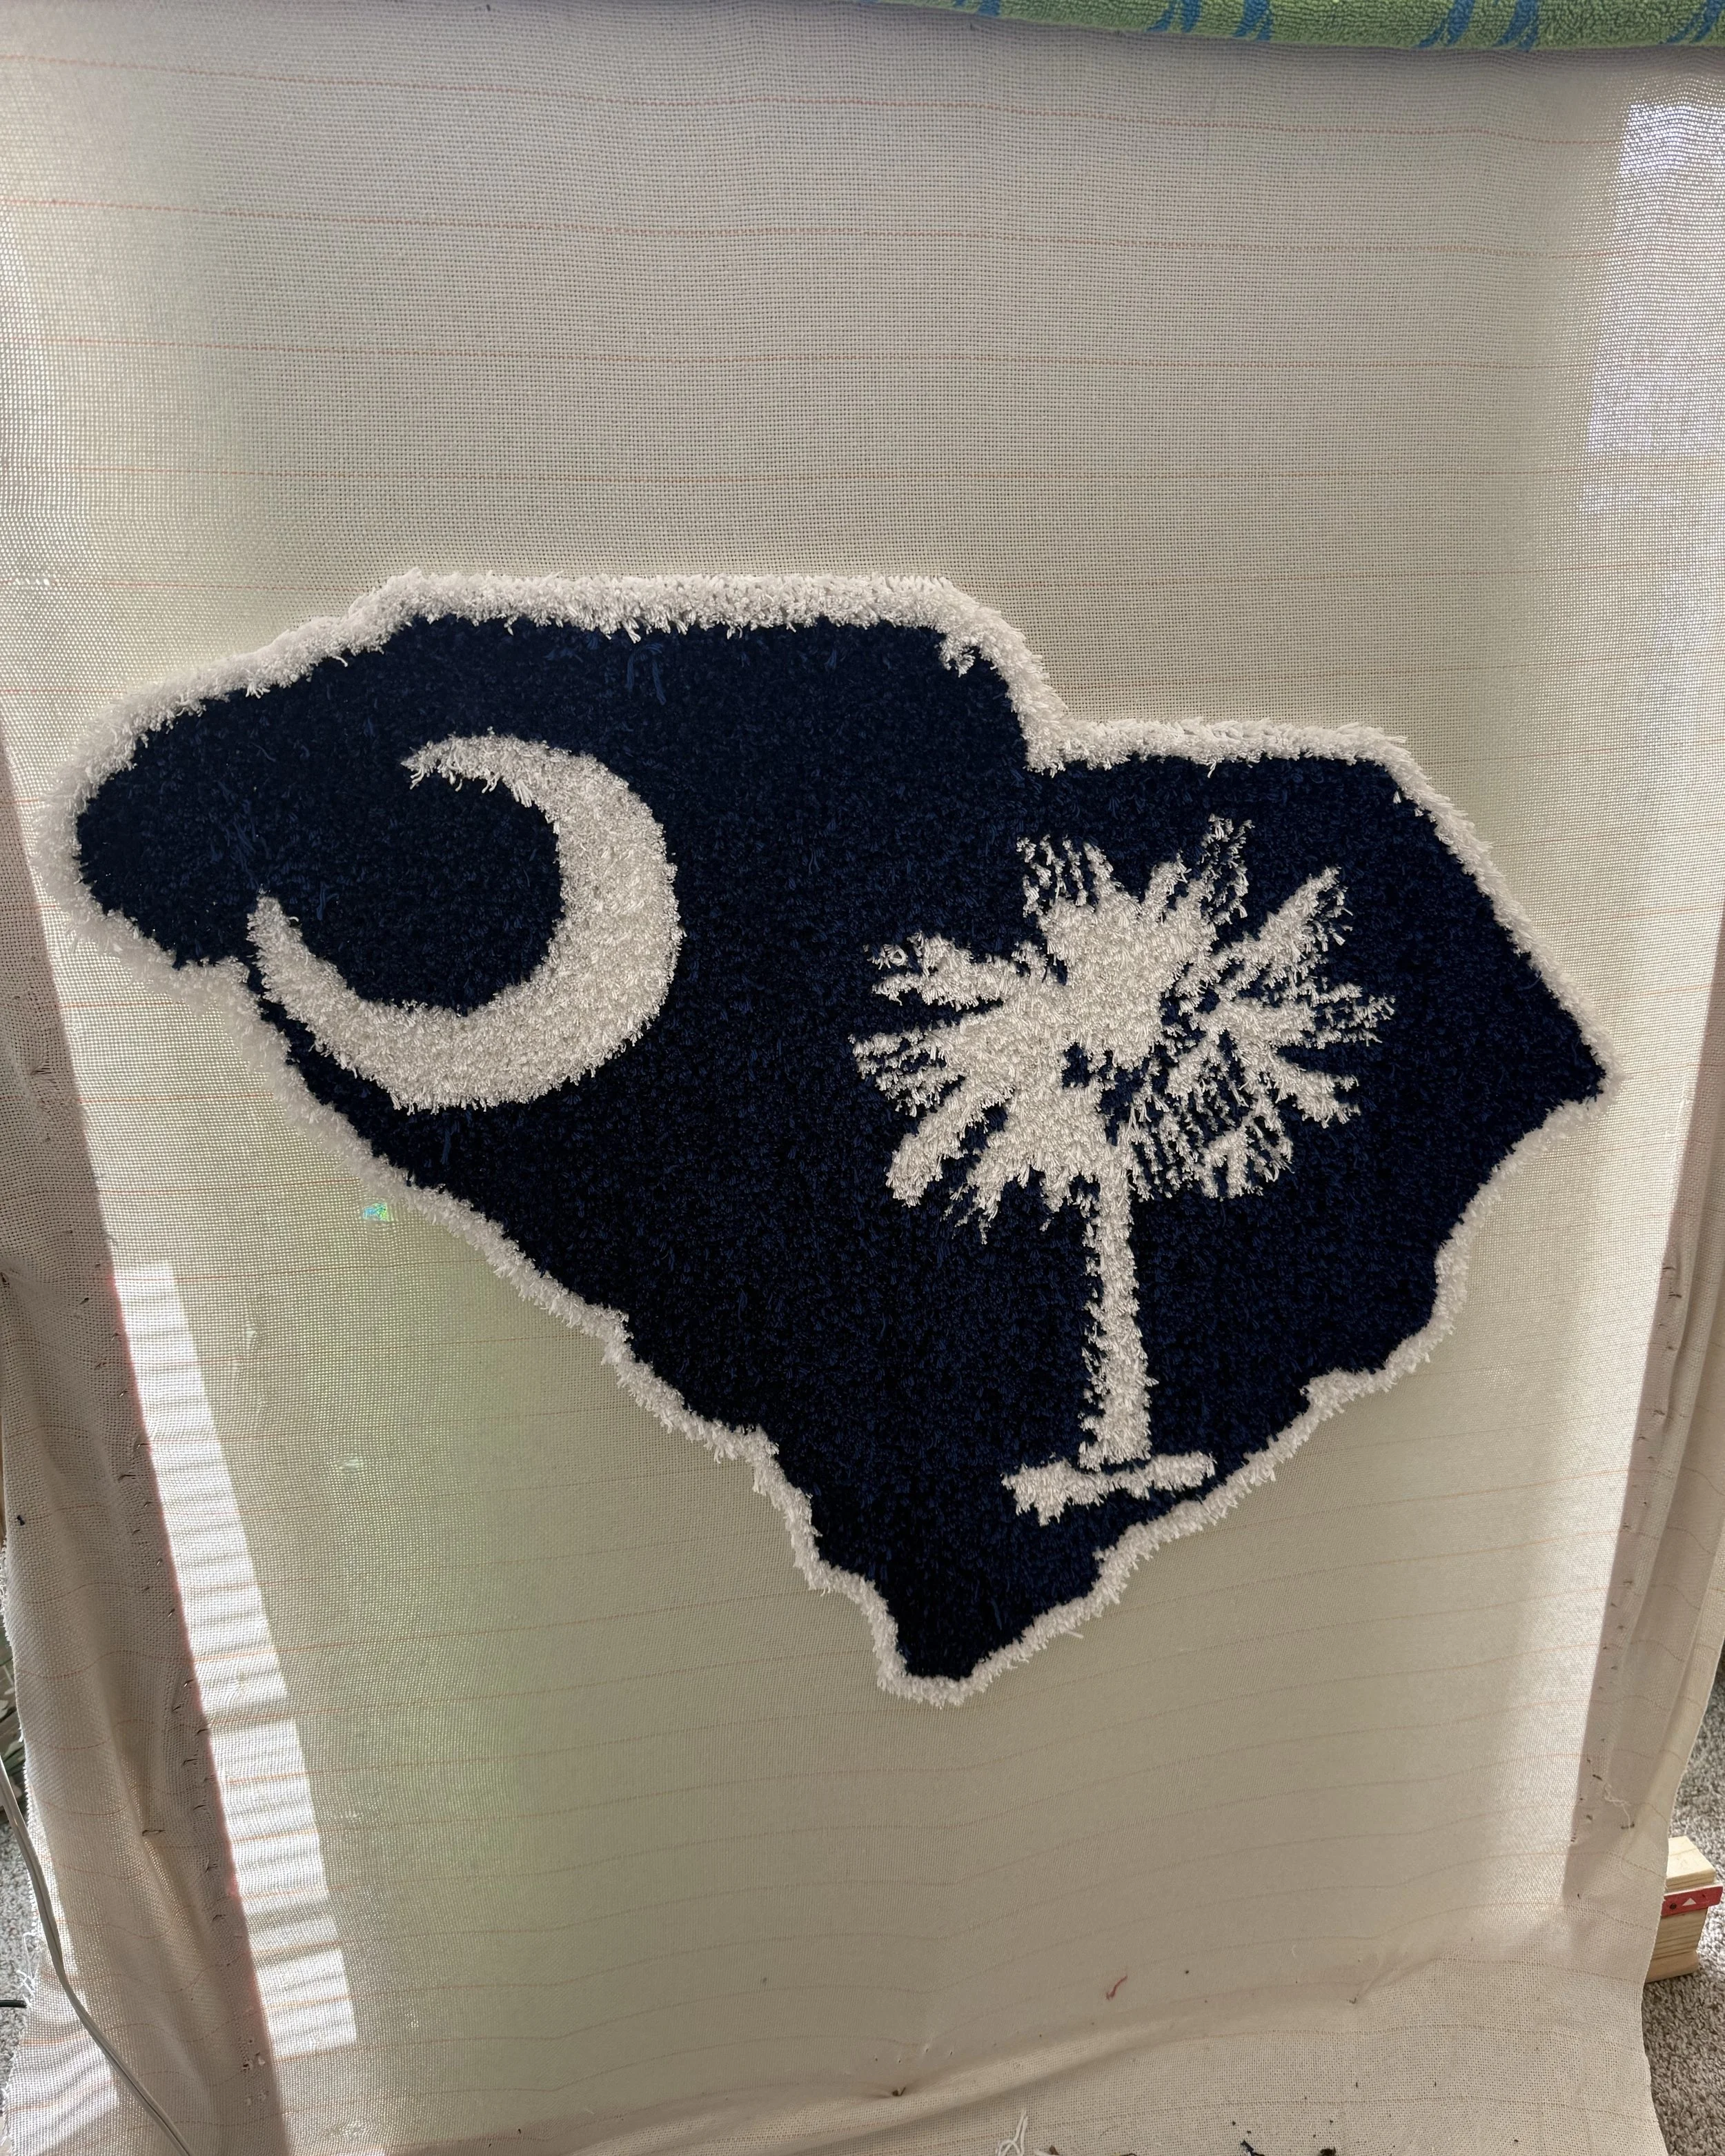
My first rug wasn't perfect, but it was mine—and that fluffy texture made it all worth it. I based it off of the 82nd Airborne Division and gave it to my platoon leaders to keep at the company office. Right after that one I created a South Carolina State rug, which came out better than the first. As of now I have only had time to make two, but as time opens I have plans for a Carolina Gamecock rug that I think will come out pretty dope. Here are the end results. Again, not perfect, but a good start. The images provided below are from before I trimmed and tightened up my lines. (That will probably take the most practice)
Tips for New Tufters
Start small (like a 2x3 ft rug) to build confidence.
Keep the fabric super tight on the frame.
Practice switching between cut and loop pile if your gun allows it.
Acrylic yarn like Big Twist is forgiving and budget-friendly for beginners; upgrade to wool later for floor rugs.
When applying adhesive, work in a well-ventilated area and spread it evenly with a trowel or brush for full coverage.
Rug tufting has become one of my favorite creative outlets—it's meditative, customizable, and the results are so rewarding. These starter materials kept costs down while delivering pro-level results right from the start. Your initial investment might hover around $300-400 dollars… but with the intention to sell your work, this can be flipped back to you after your first few projects.
NEW TO THE STORE…
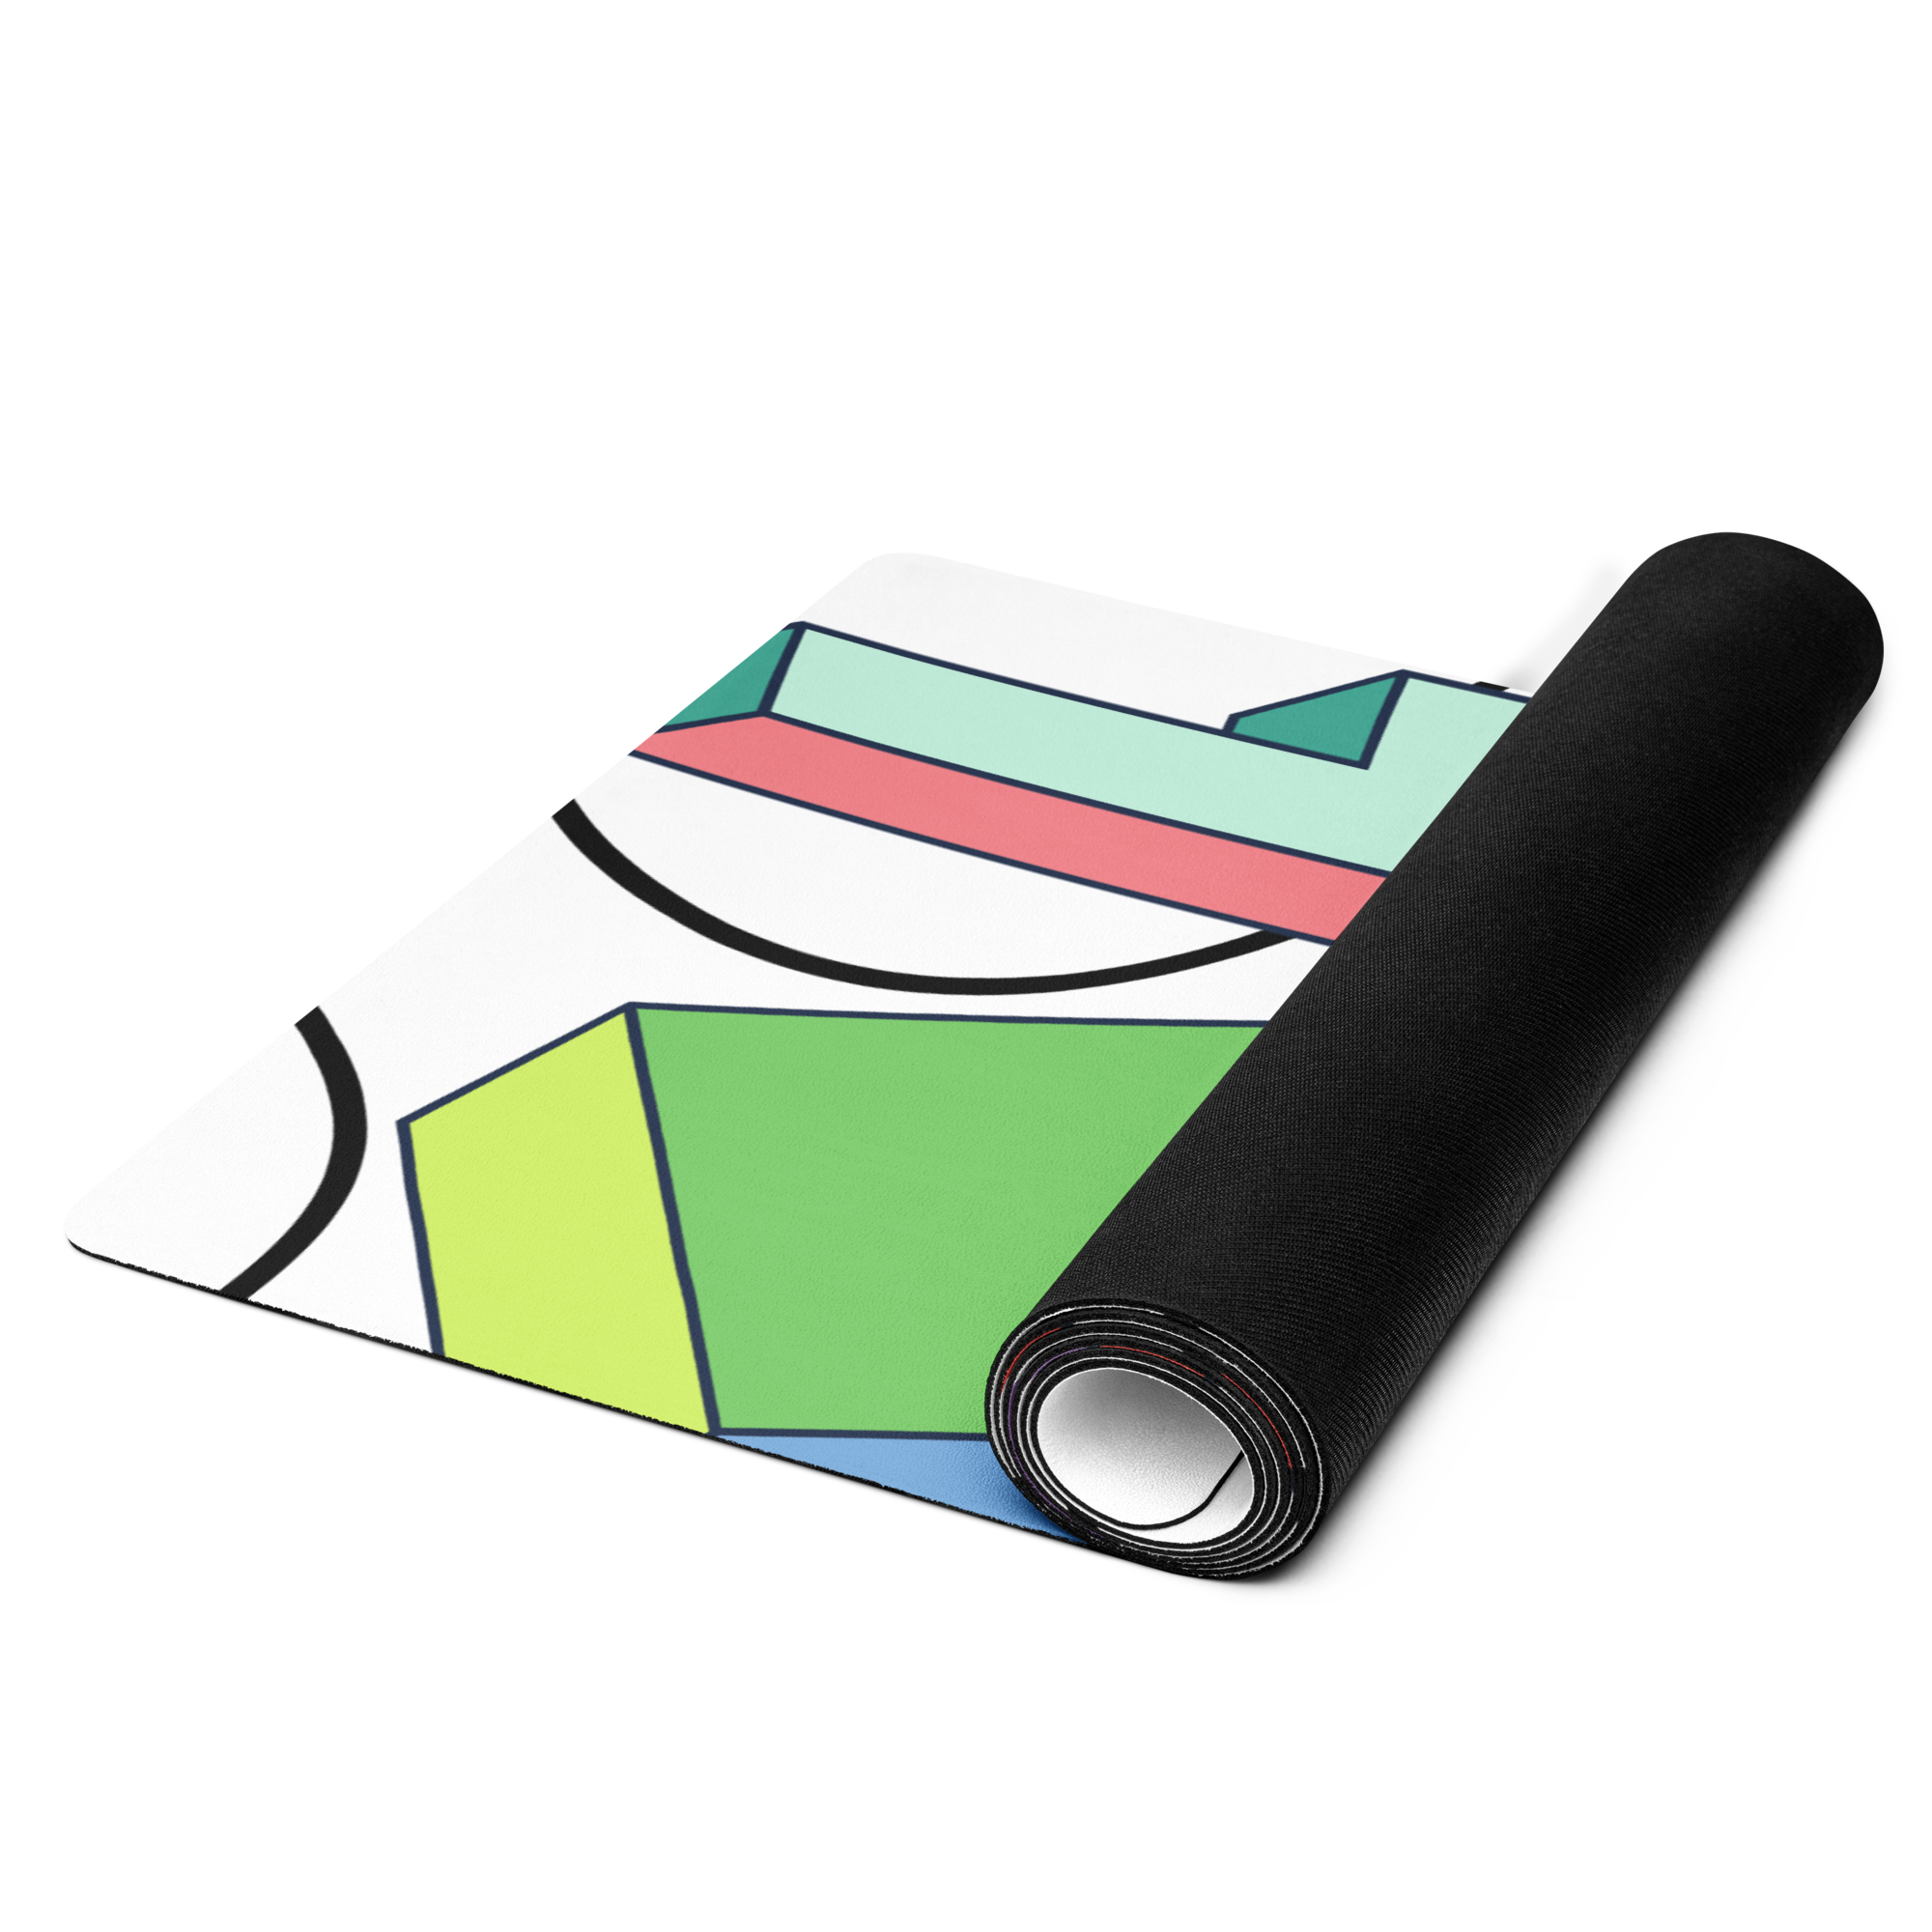
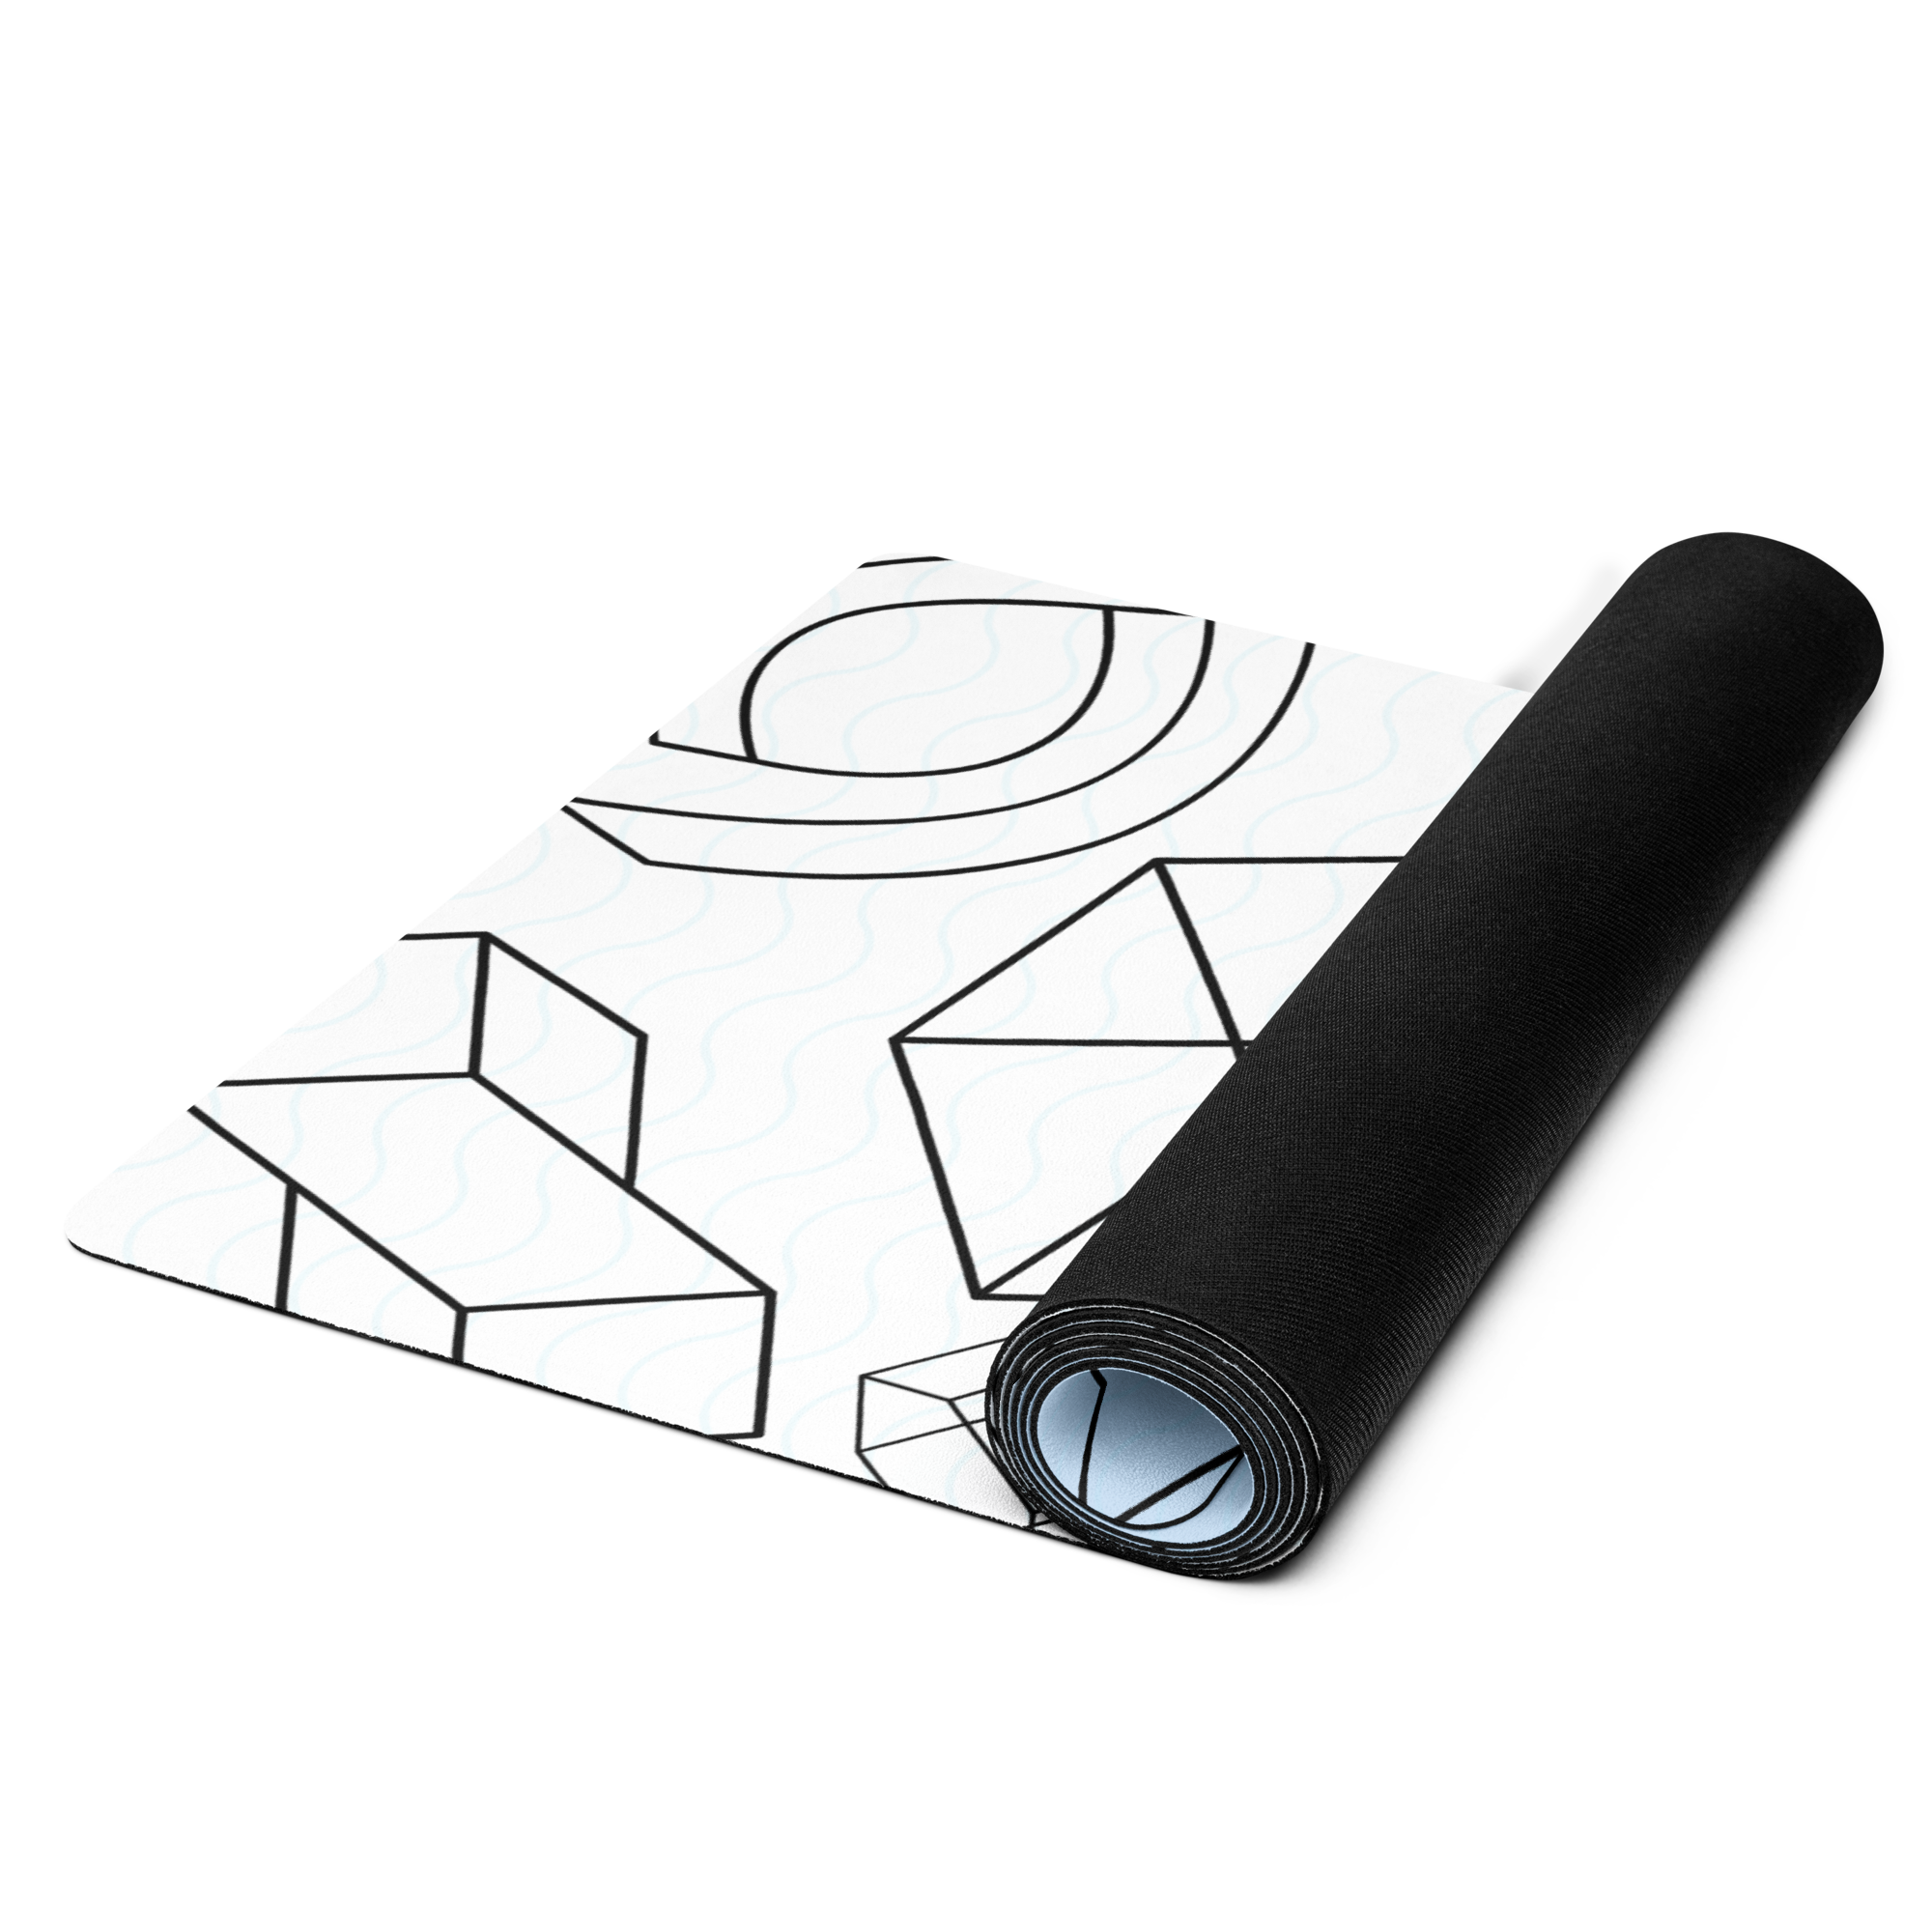
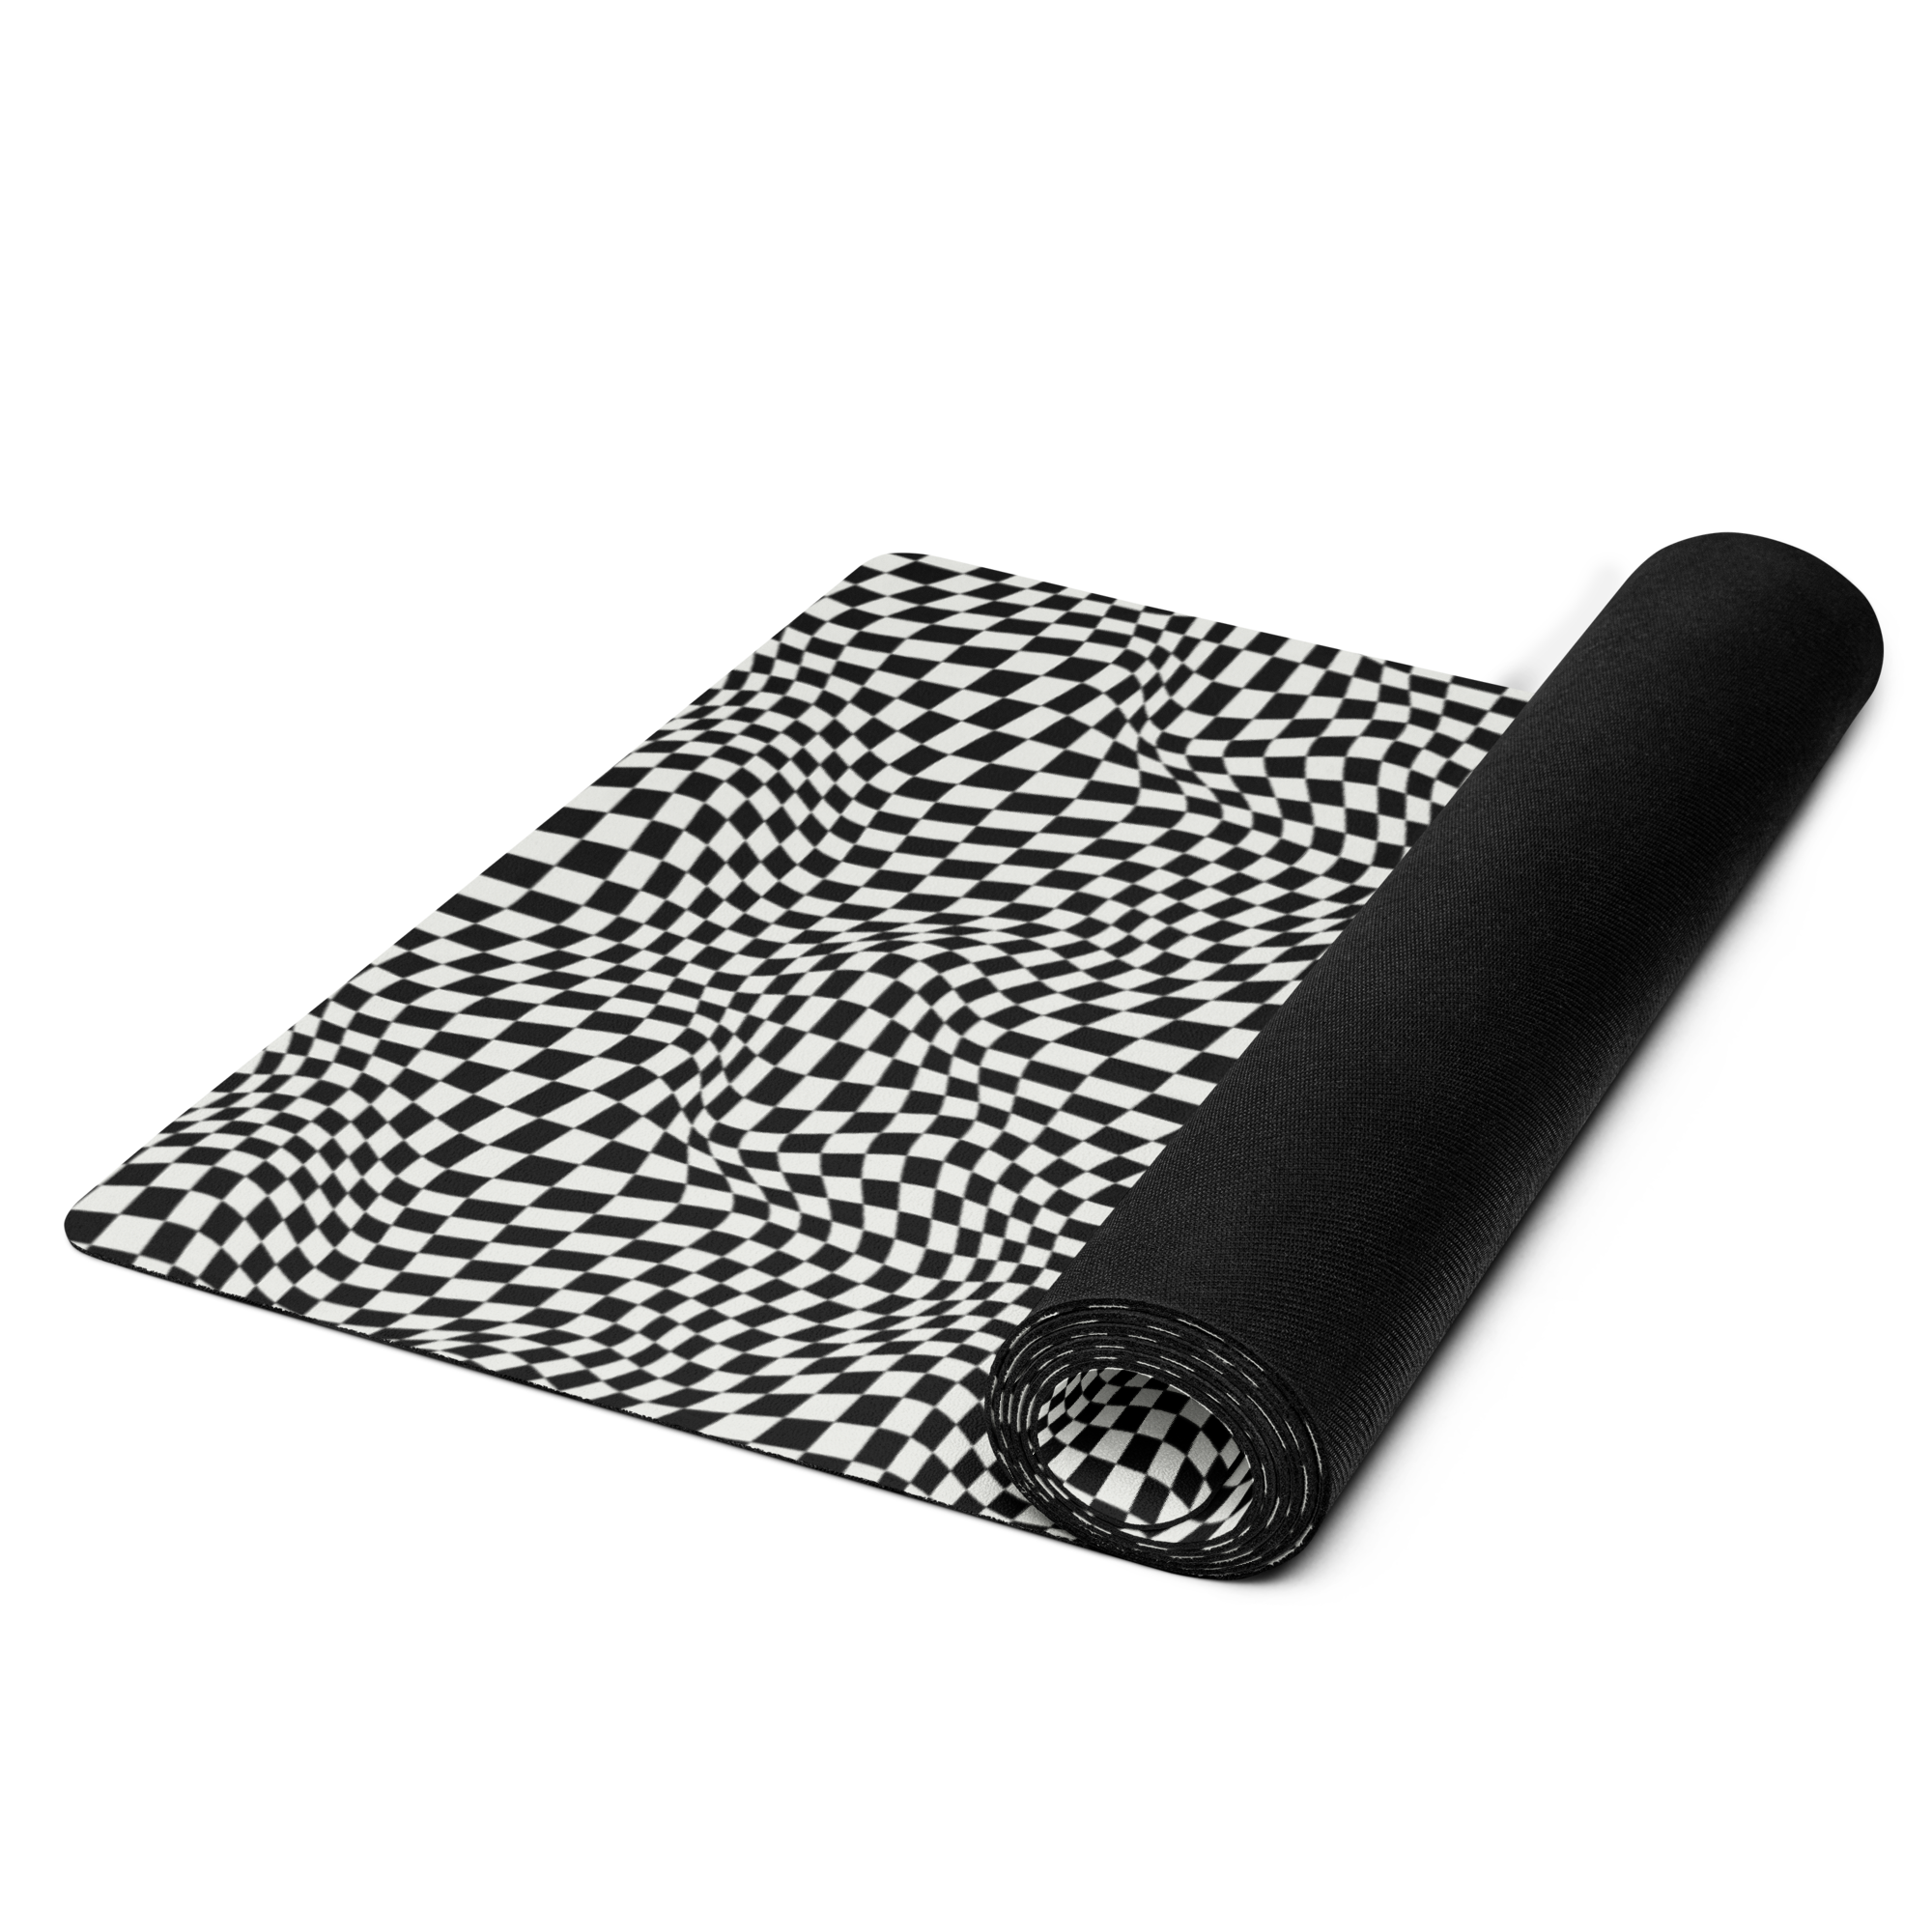
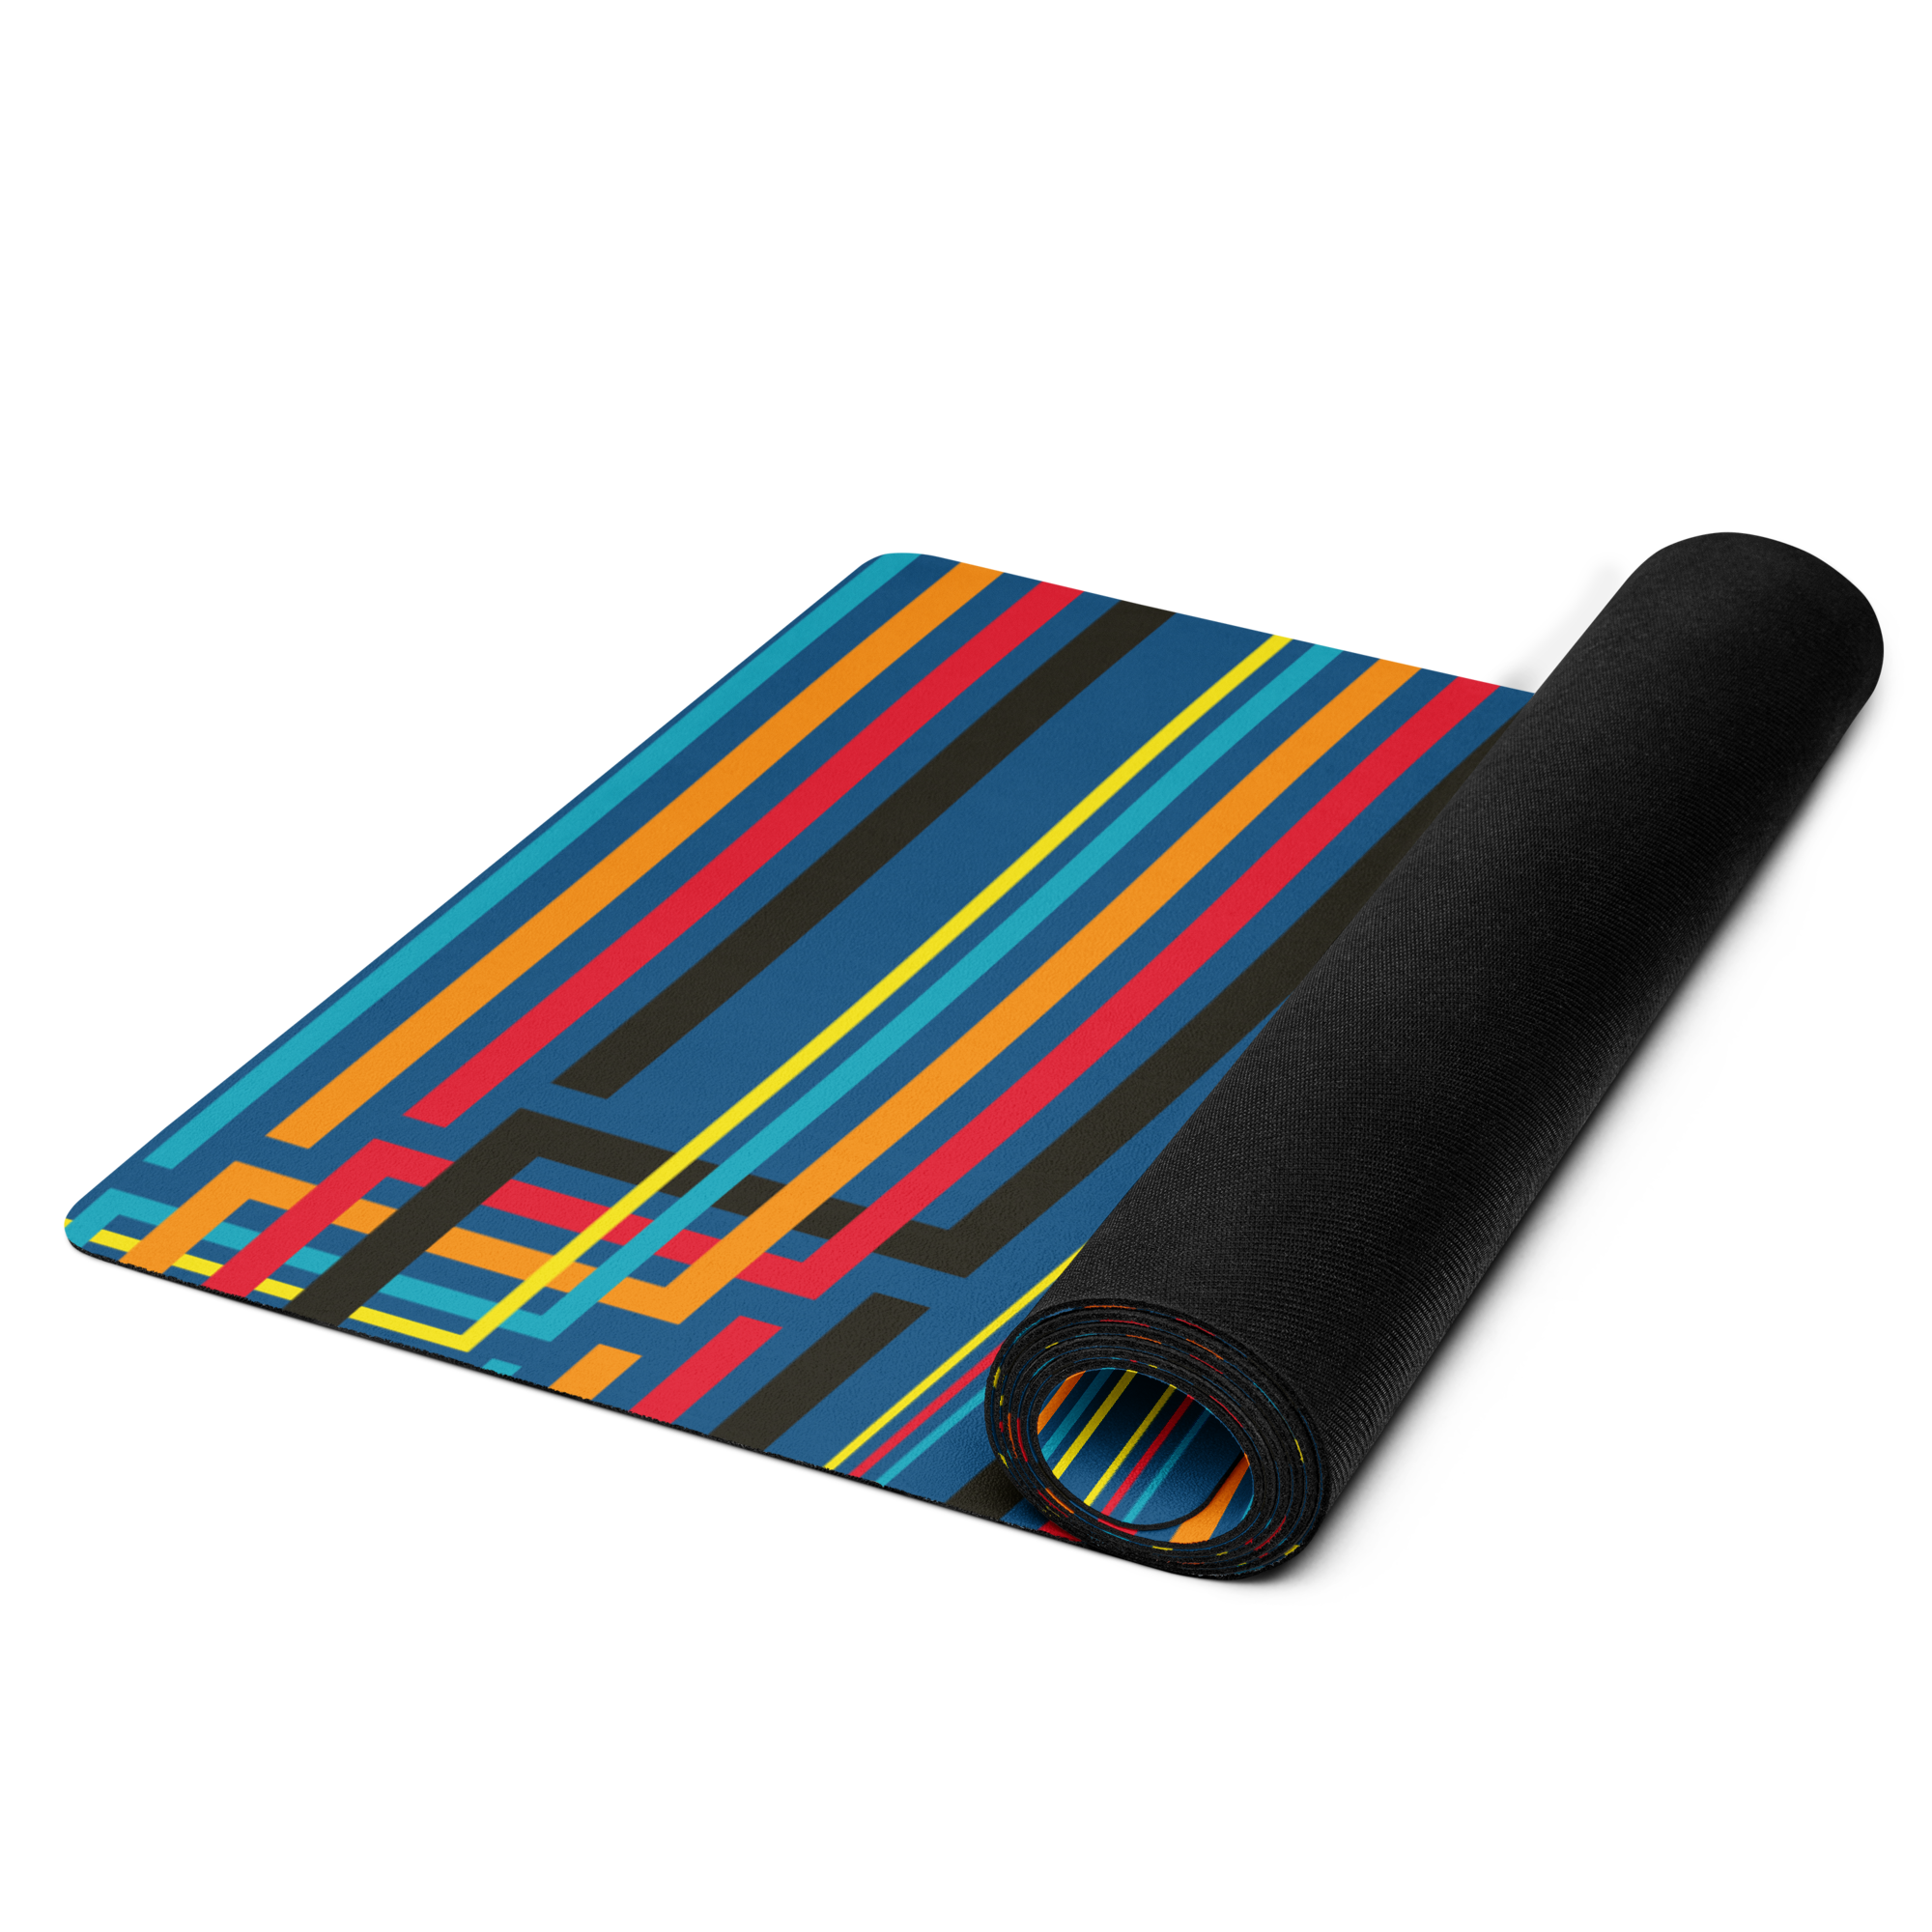
CUSTOM ART YOGA MATS
Hey yogis and wellness enthusiasts! If you're searching for a custom art yoga mat that combines stunning designs with top-tier functionality, look no further. As the creative force behind this site, a veteran with military service under my belt, and back injuries while airborne to show, I have had a resurged of focus back into holistic healing!
Before that my time in service, I was a skilled massage therapist, and now, fresh off completing my RYT250 yoga instructor certification and halfway through my Physical Therapist Assistant degree, I've channeled my experiences into creating personalized yoga mats that support recovery and daily practice. Yoga has been a lifeline, for both me and my wife (also a LMT and yoga instructor) offering incredible benefits like enhanced flexibility, stress reduction, improved mental clarity, and overall physical strength. Through my own injury management journey, I've learned how regular yoga sessions—whether for vigorous exercise, gentle stretching, or serene meditation—can keep you on a healthy recovery track, preventing physical setbacks and fostering my peace of mind. If you're ready to invest in a custom printed yoga mat that's as unique as your practice, our new releases are designed just for you.
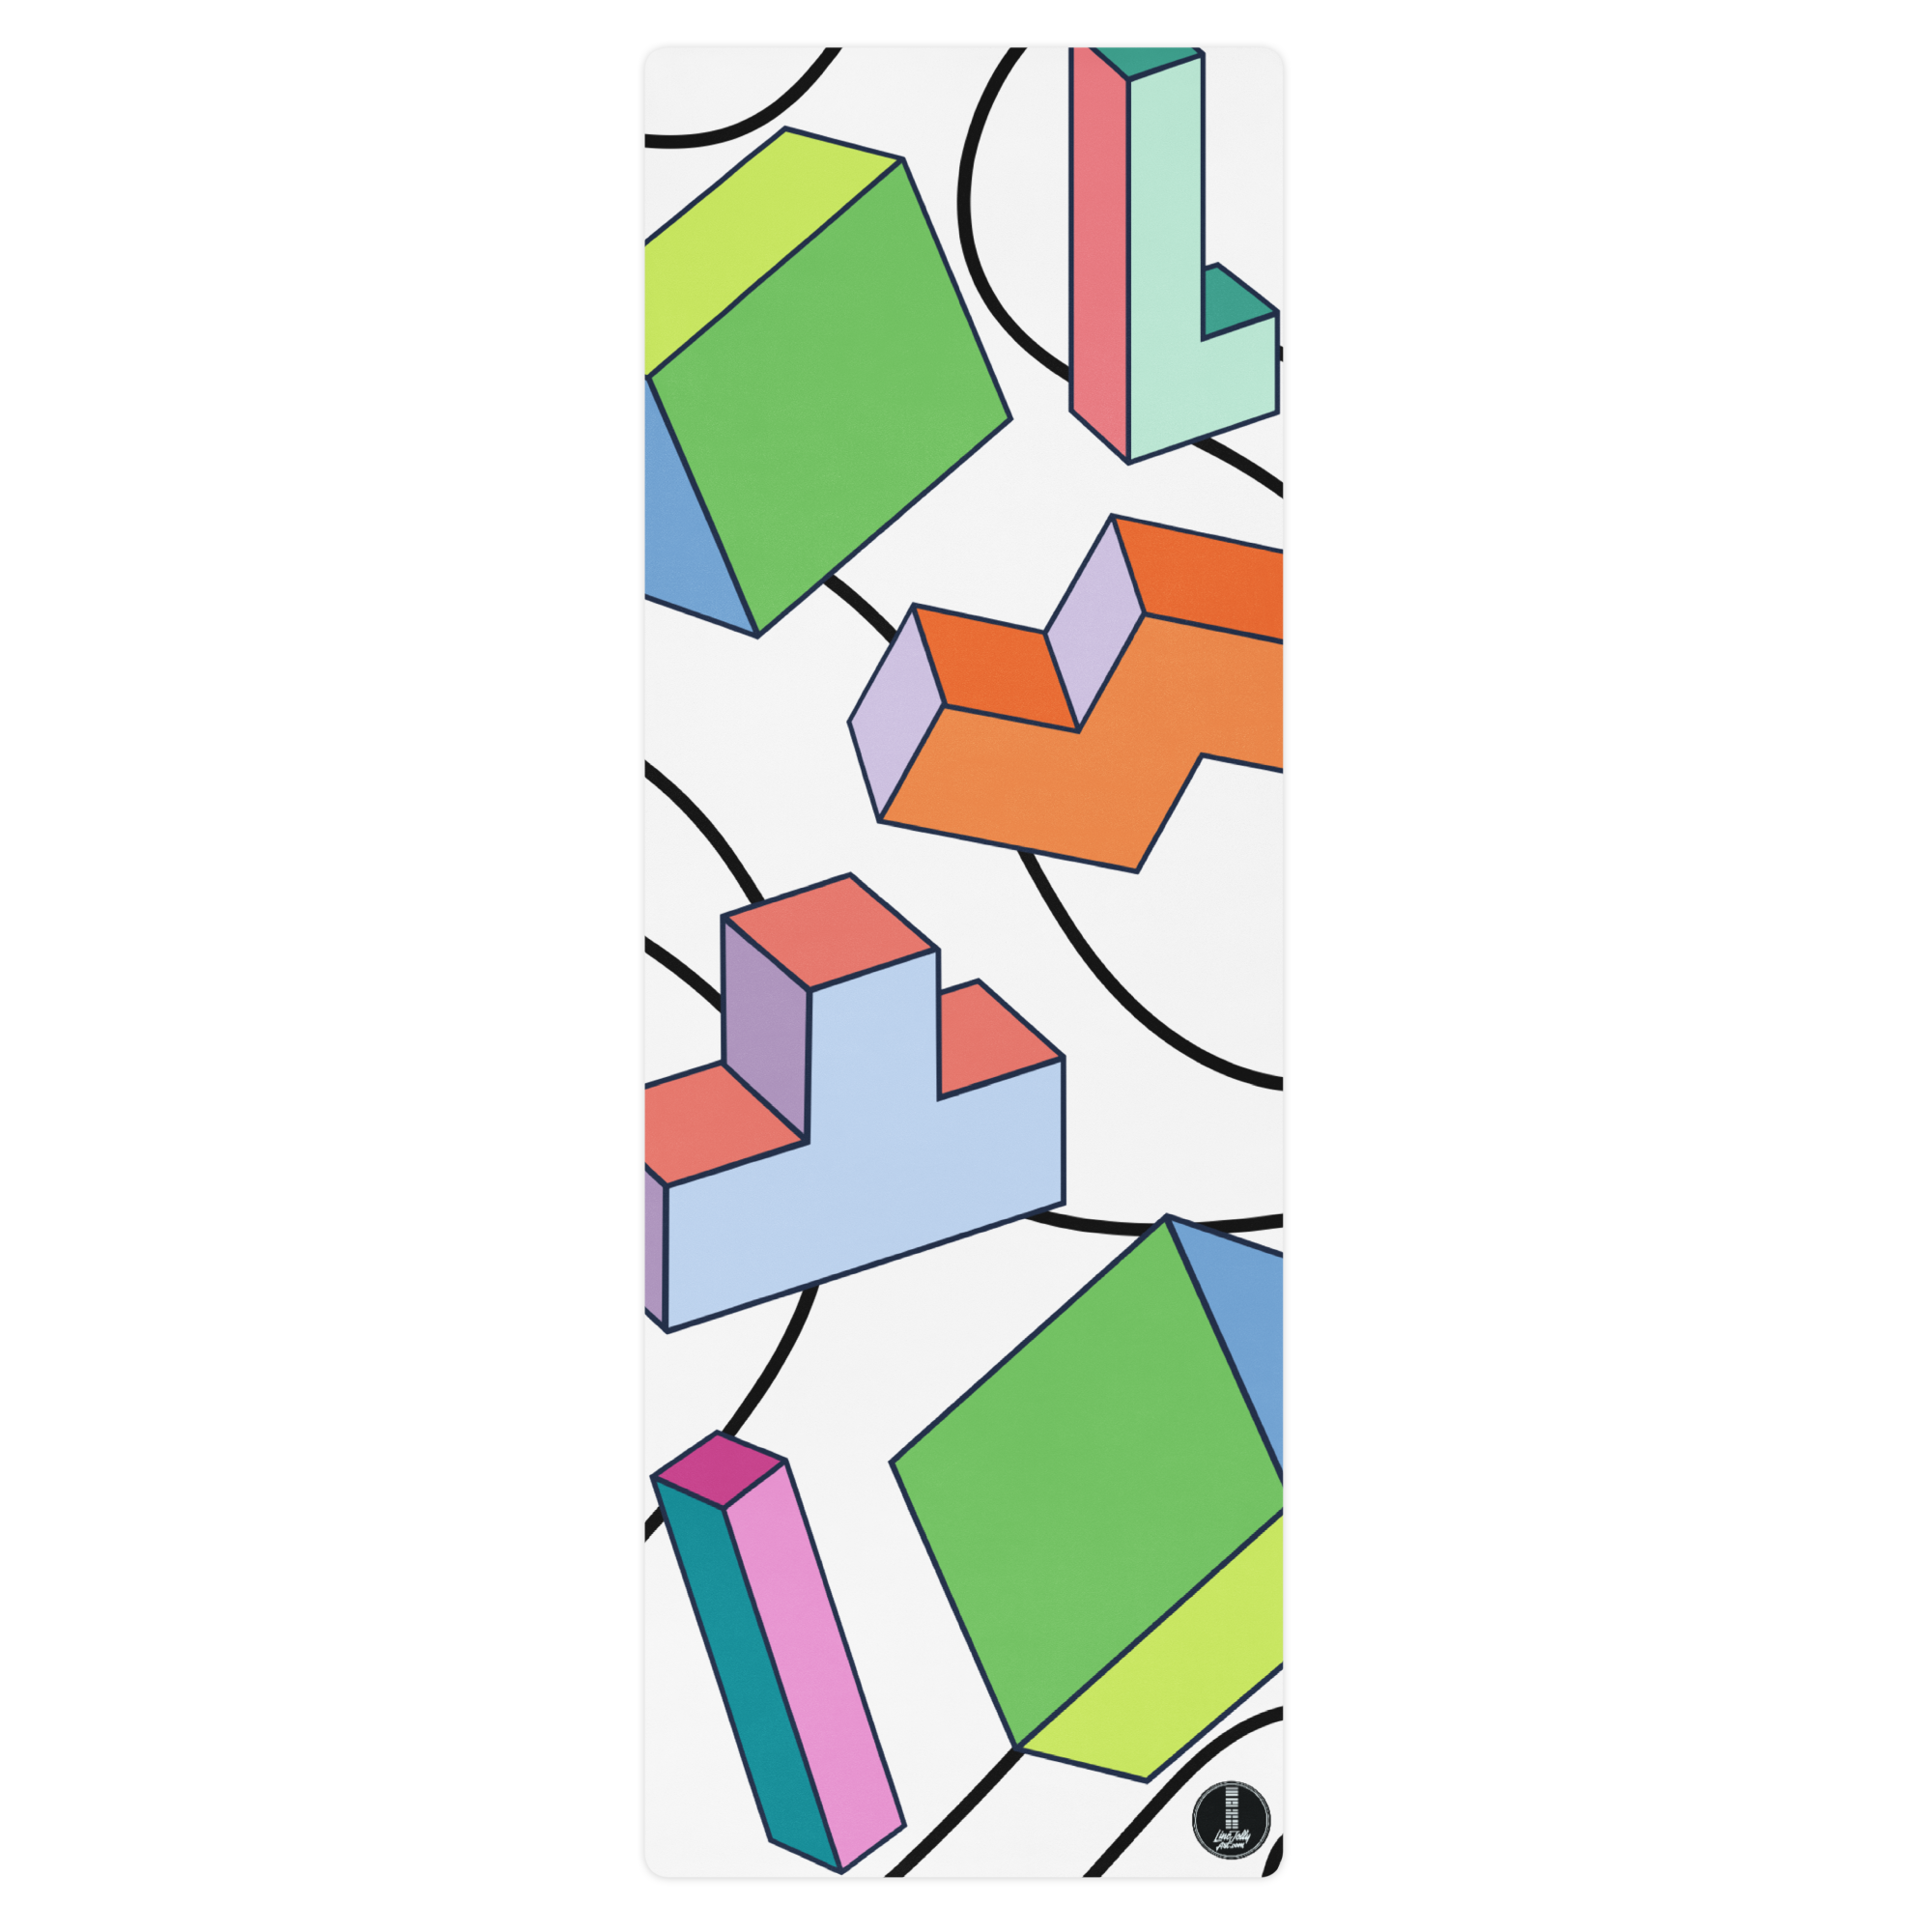
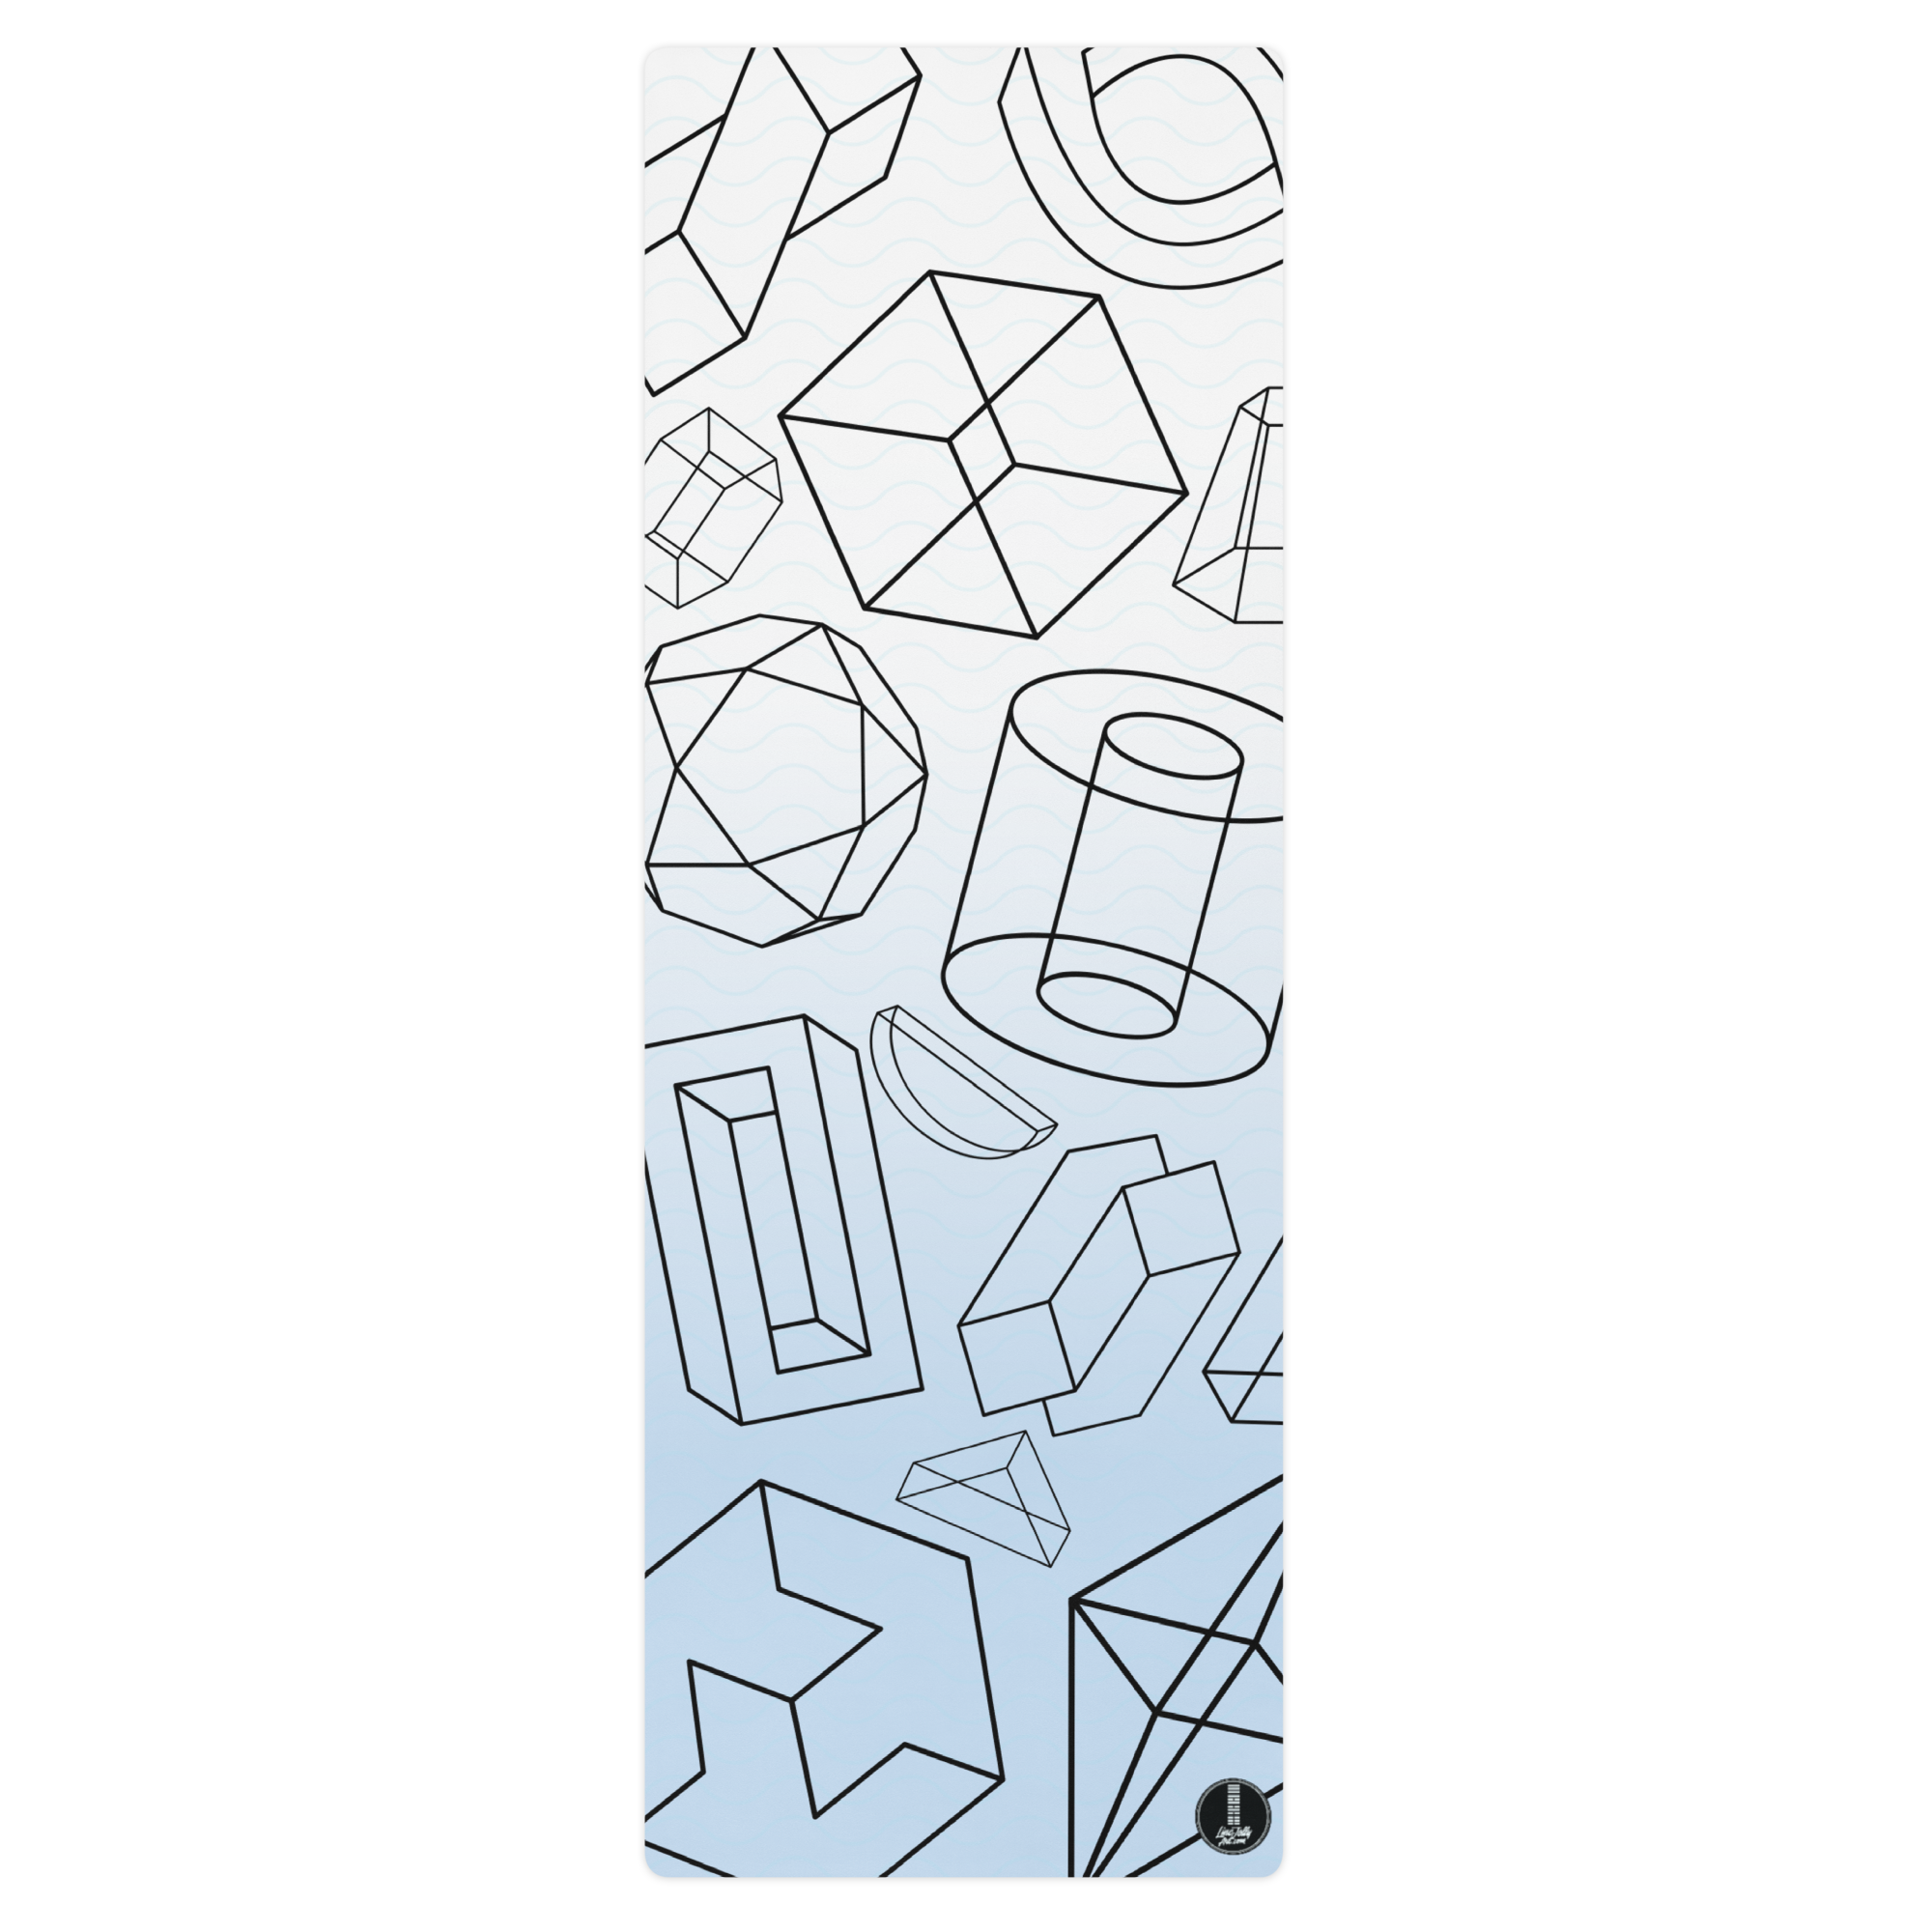
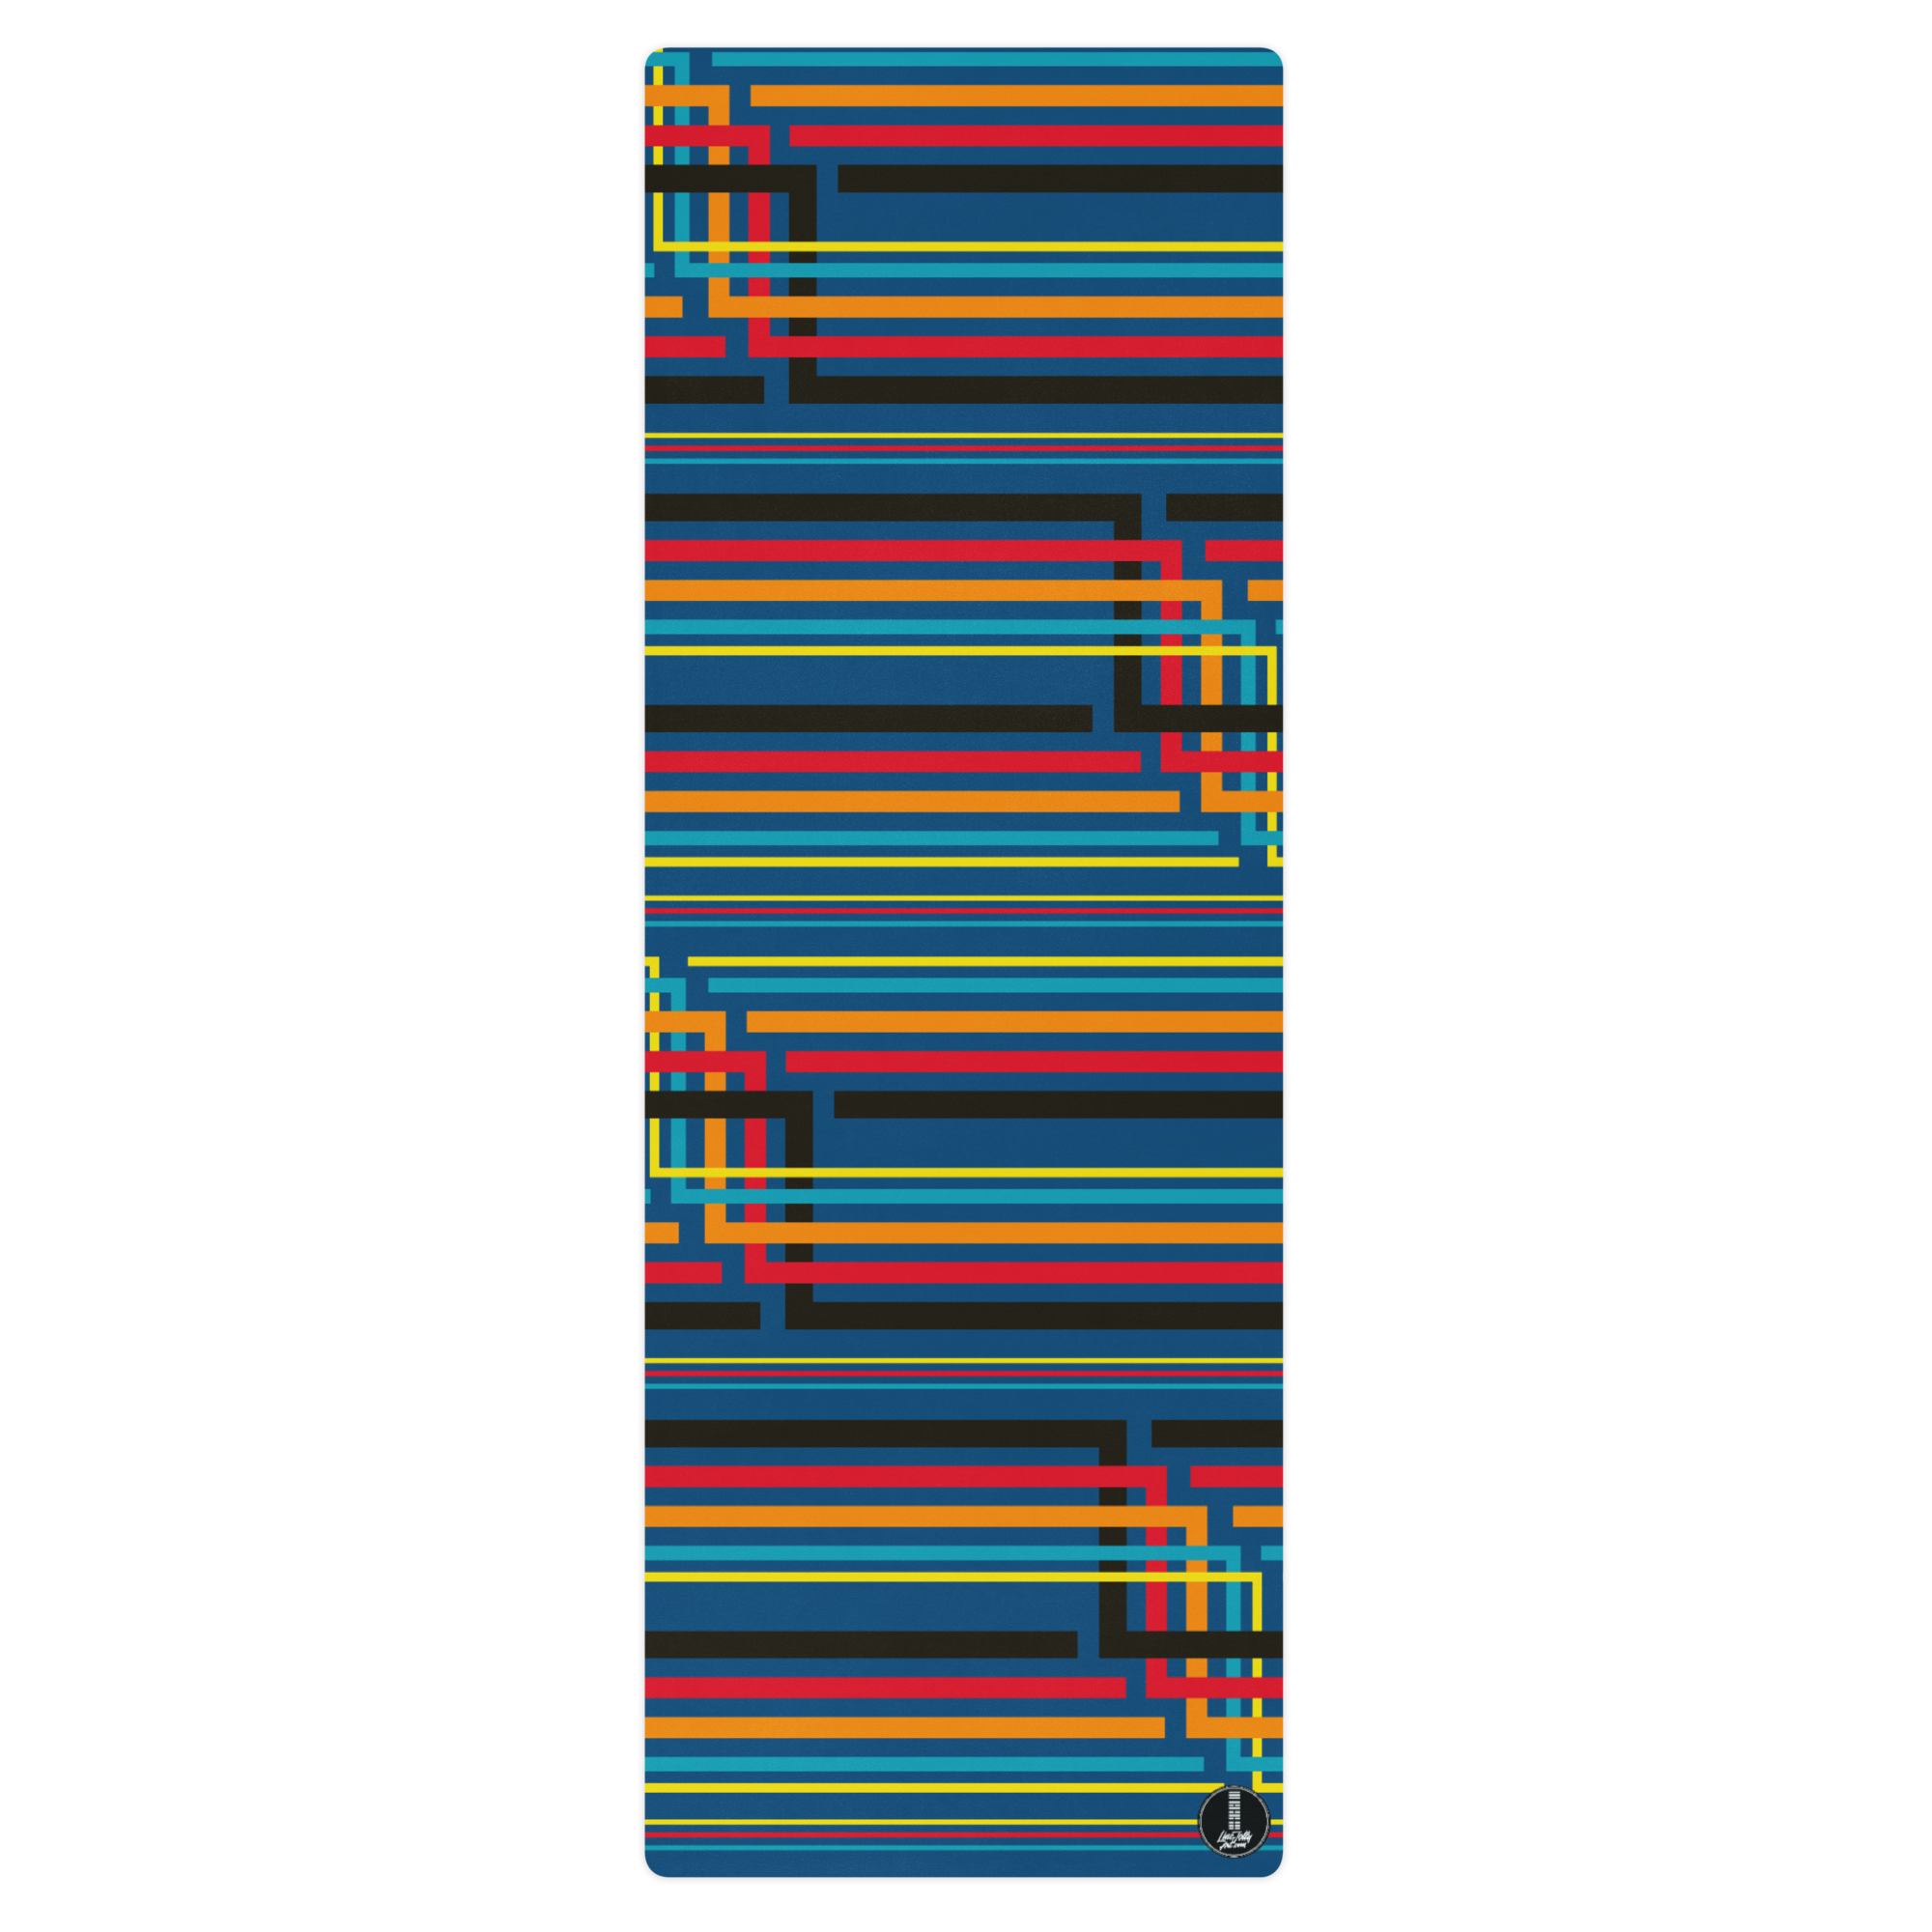
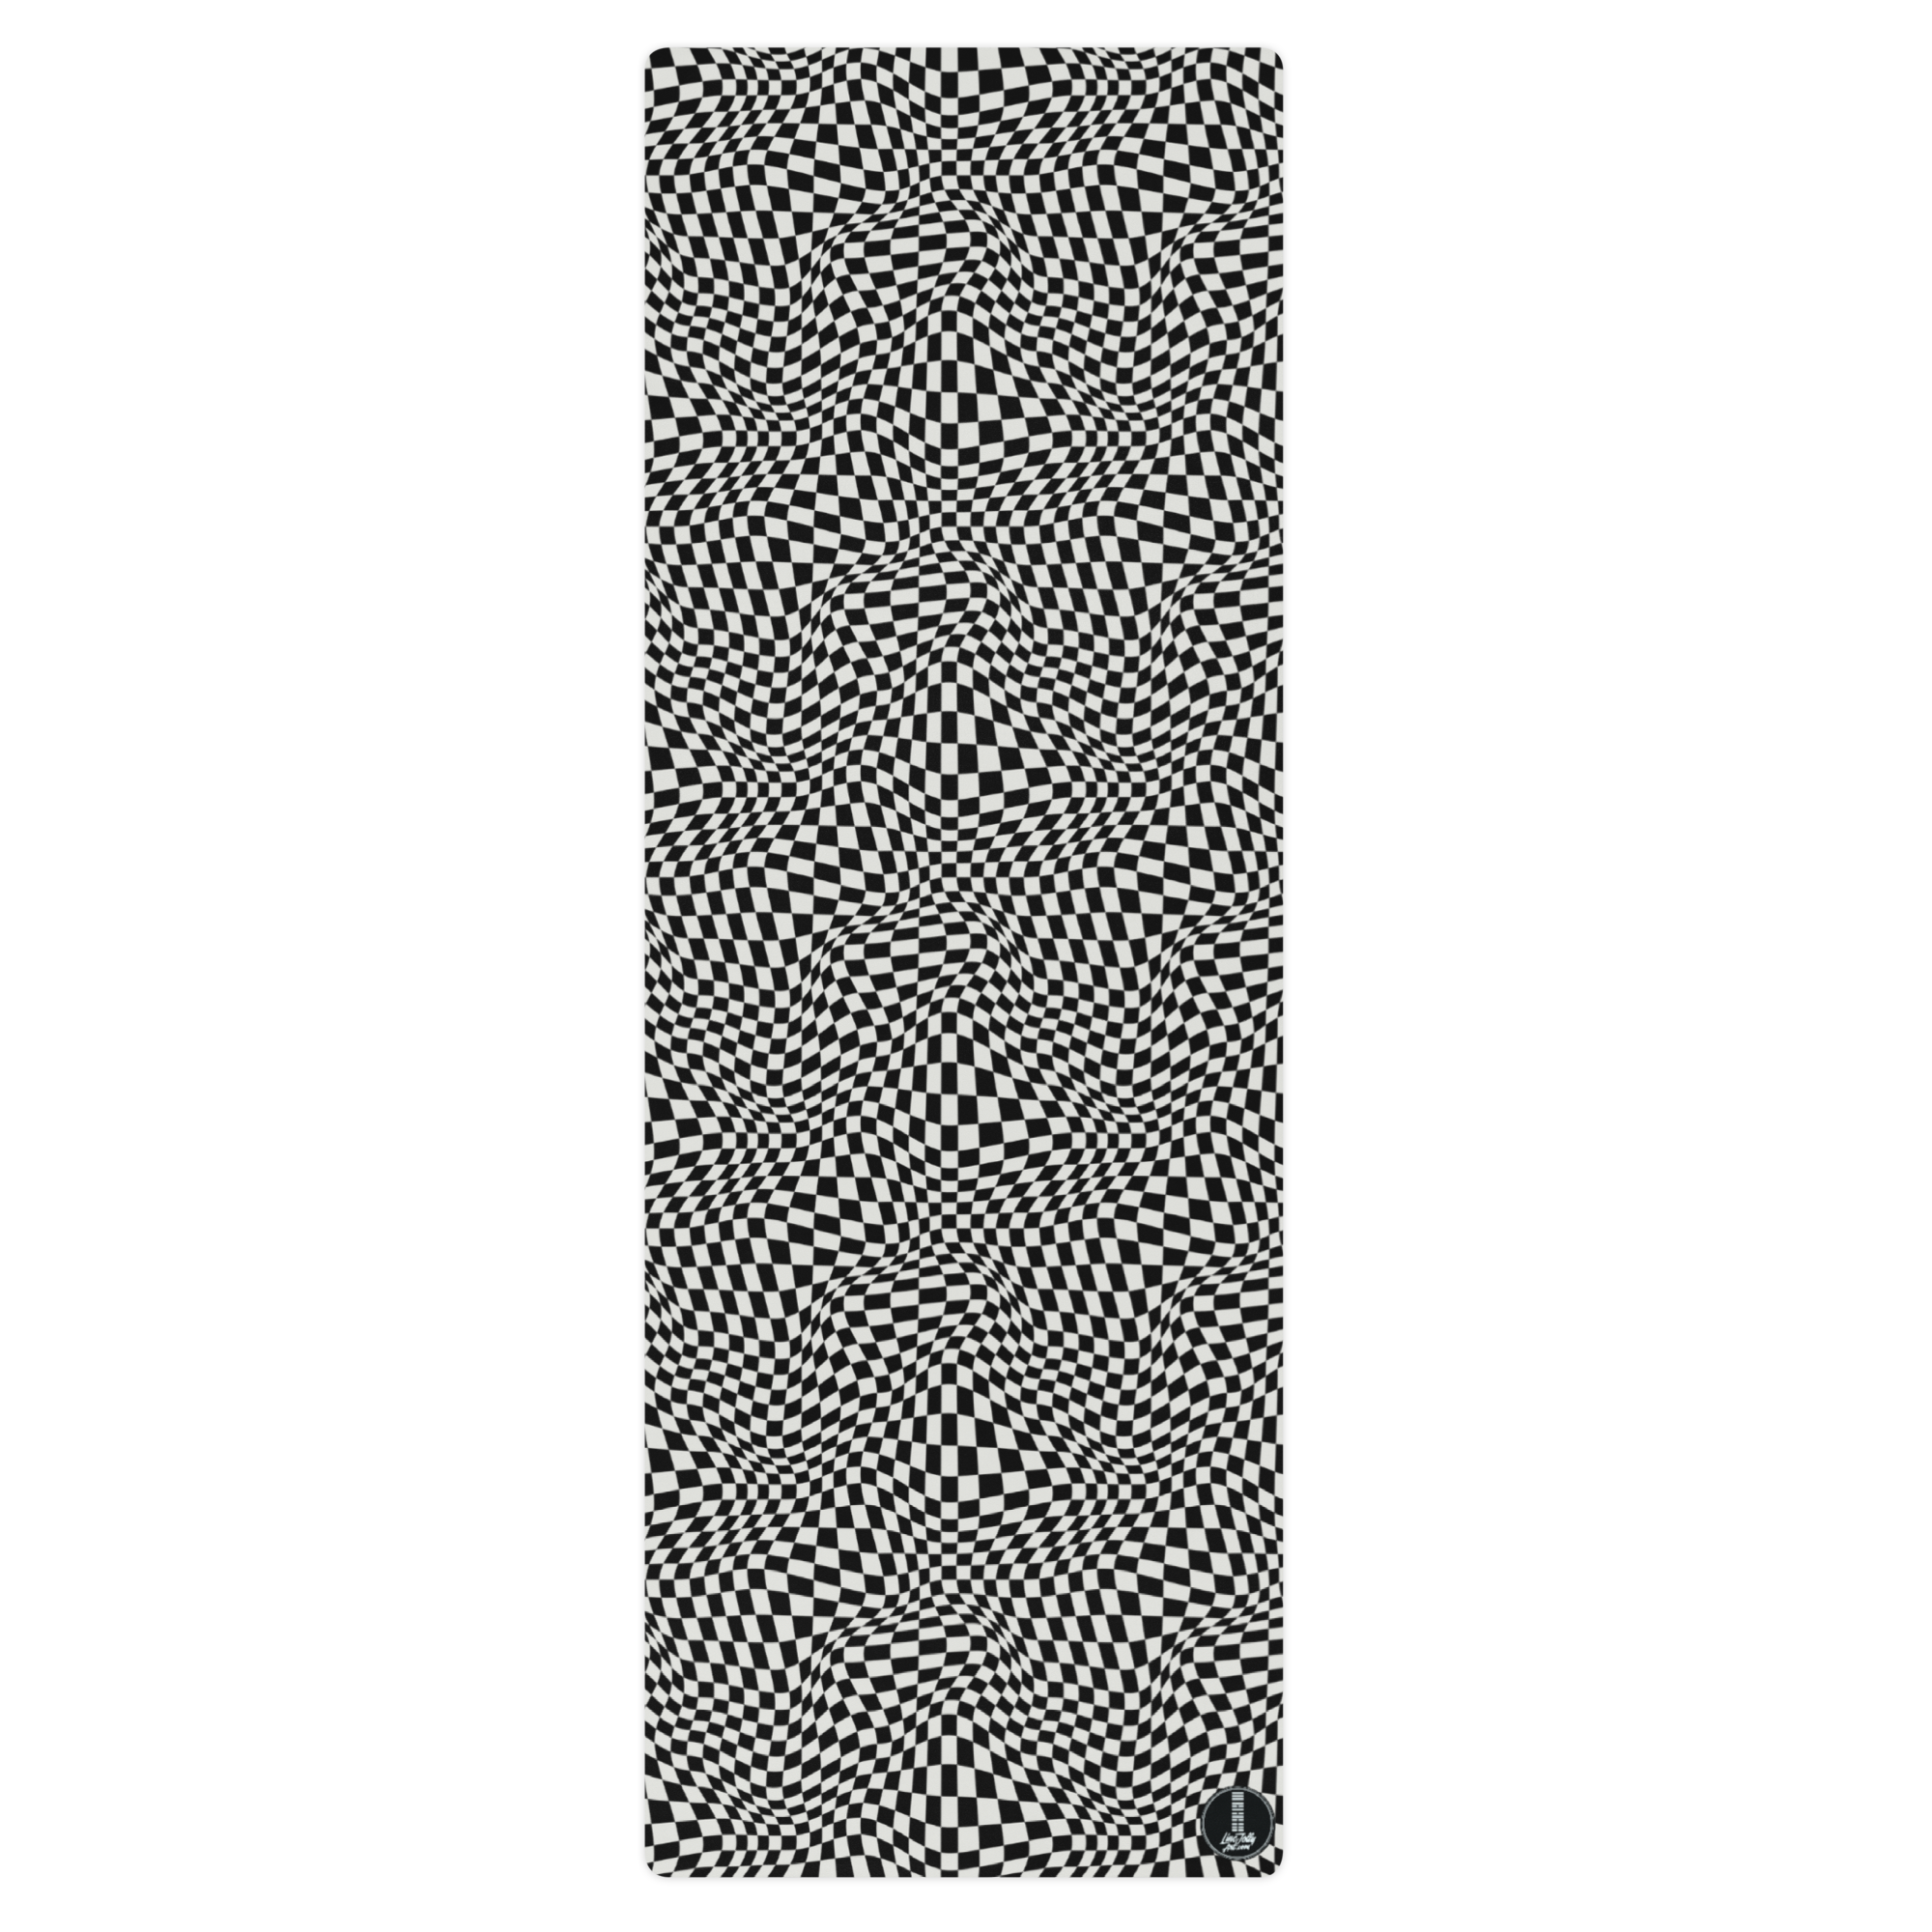
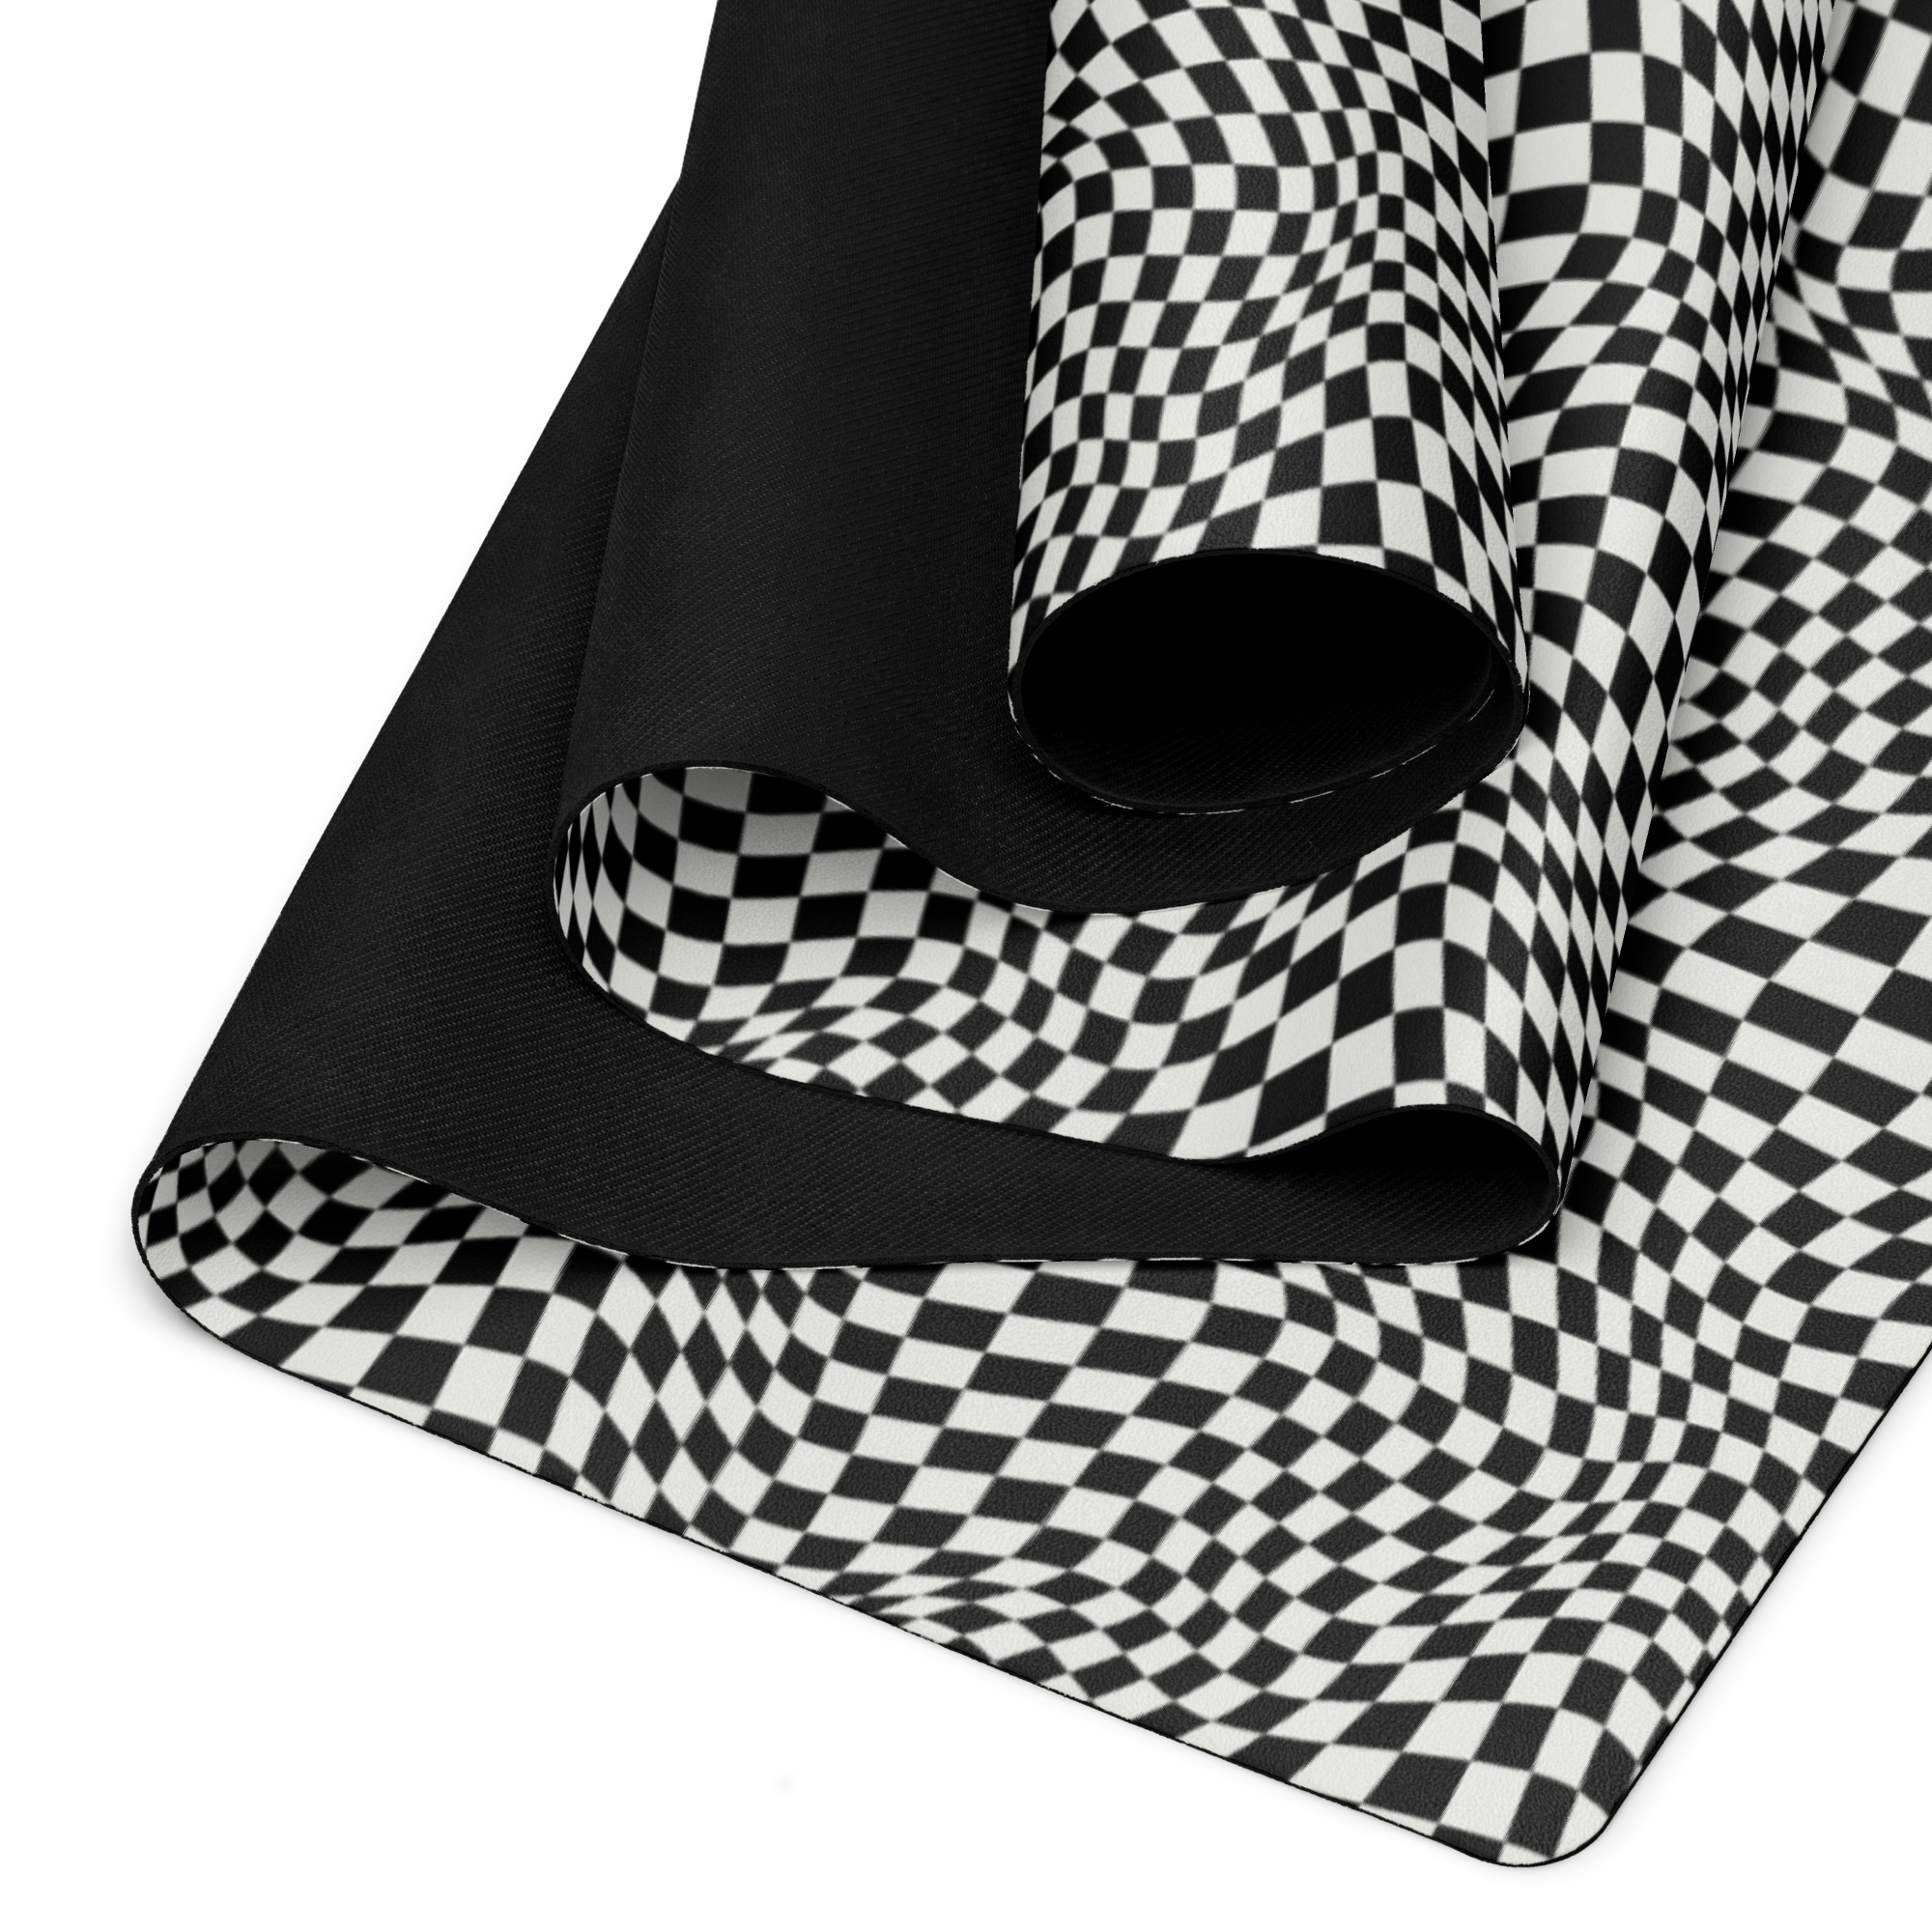
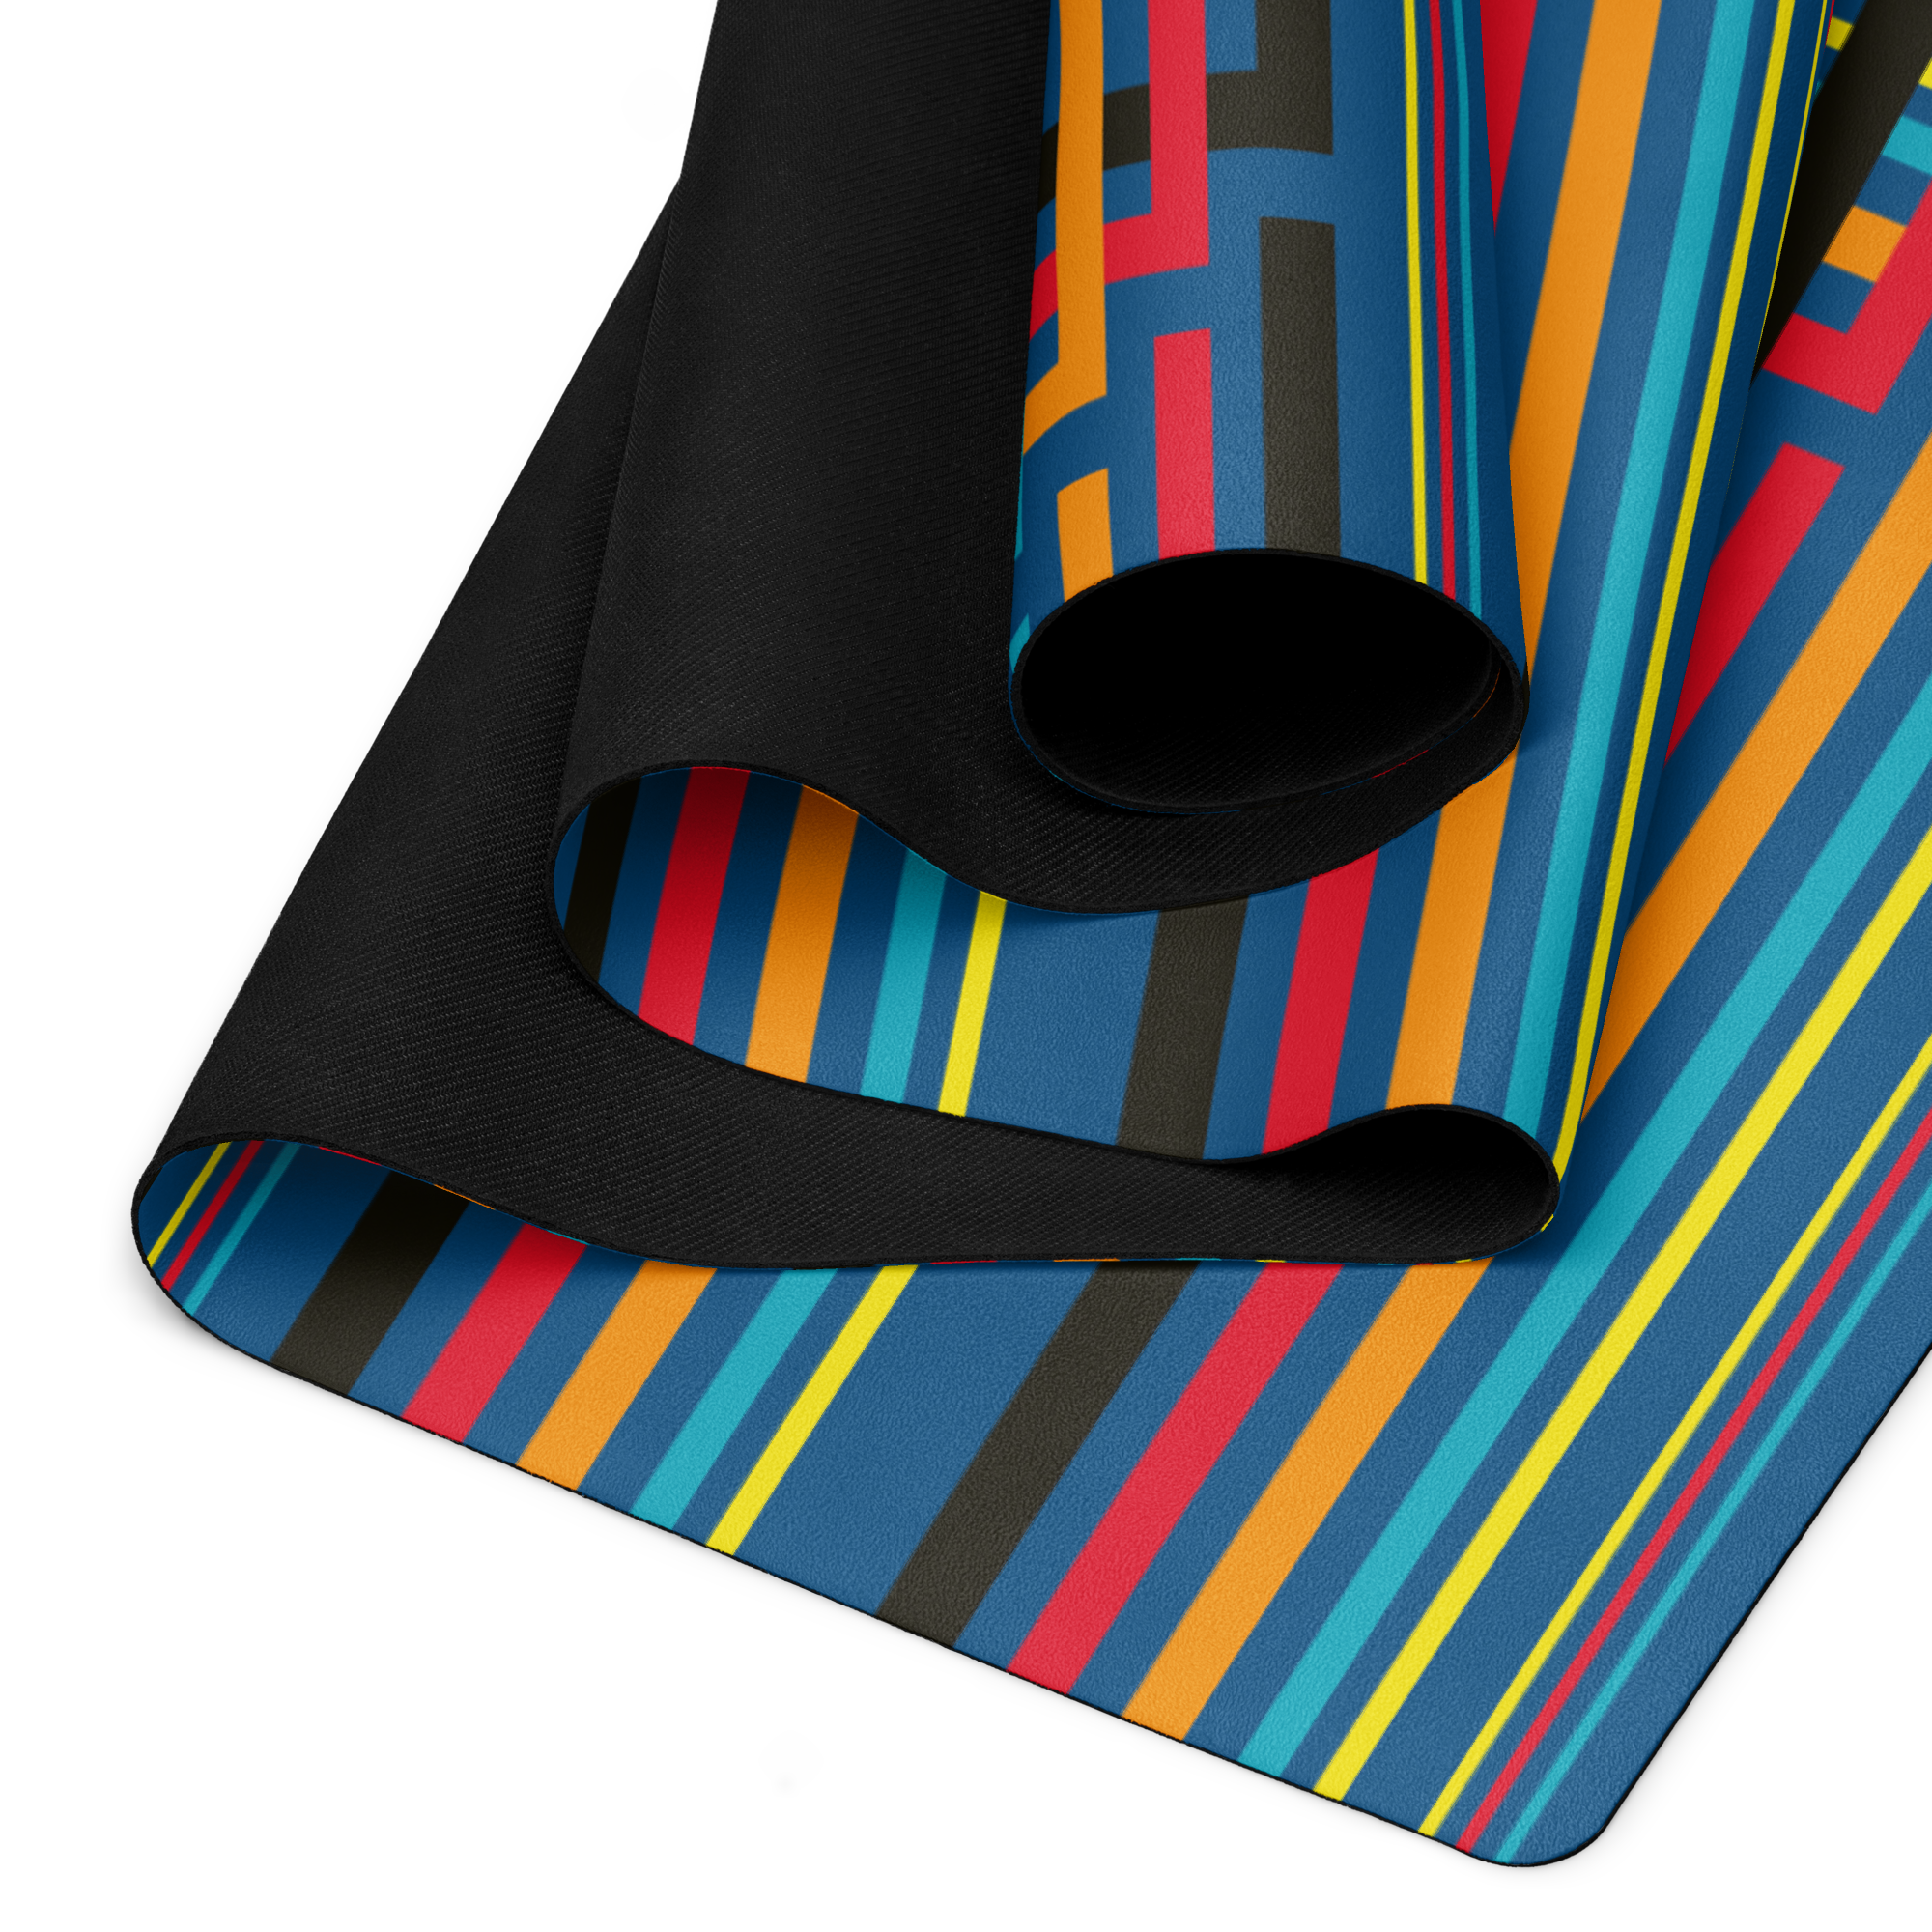
Crafted as a high-quality non-slip yoga mat with a soft microsuede top featuring customizable art prints, it boasts an anti-slip rubber bottom for unbeatable stability on any surface. Measuring 24″ × 68″ and weighing only 62 oz., this eco-friendly yoga mat is lightweight yet durable, making it an ideal gym essential for home workouts or studio sessions. The included strap ensures easy portability, so you can roll it up and go. Perfect for beginners and pros alike, our artistic yoga mats for sale blend comfort, style, and performance to enhance your flow. Head to LincJollyArt.com store today to browse and buy your custom yoga mat online—unlock better health, one pose at a time, and join the community transforming their wellness routines with personalized flair!